I’ve learned from real park birthday setups that pavilion decorations only work when they are simple, secured, and layered. Most failures happen because lightweight decor blows away or looks flat in photos. The strongest results come from combining fabric pillar wraps, balloon garlands, sturdy table covers, and a clear focal point like a dessert or photo station.
In my experience, a park pavilion can go from basic concrete shelter to a fully styled party space in about 60–90 minutes if the setup is planned. I focus on wind-resistant materials, quick-install décor, and budget-friendly items like tulle, vinyl tablecloths, mason jars, and battery lights. A full transformation can cost as low as $75 if planned properly.
Save this for later
I also found that visual layering matters most: table-level decor (covers + centerpieces), eye-level decor (banners + pillars), and overhead decor (lights + garlands). When all three work together, the space feels intentional and camera-ready without needing professional decorators.
Key Takeaways
- Wind-proof decorations matter more than expensive décor outdoors
- A $75 setup can create a professional-looking pavilion party
- Fabric, vinyl, and zip ties outperform paper decorations
- Balloon garlands are the strongest visual focal point
- Setup time ranges from 30 to 90 minutes depending on detail level
- Layering decor (low, mid, high) creates the best visual impact
- A dedicated dessert/photo area increases guest engagement and photos
Related article: Park Shelter Birthday Party Ideas That Look Way More Expensive
1. Wrap the Pillars with Fabric or Crepe Paper
I always start with pavilion pillars because they usually look worn and uneven. Wrapping them in tulle or fabric instantly changes the space. I prefer cheap bulk fabric because it holds up better in wind compared to paper.
From experience, about $12–$18 is enough to cover a small pavilion. I secure fabric at the top with zip ties and let it fall loosely. It’s quick and instantly improves the background for photos.
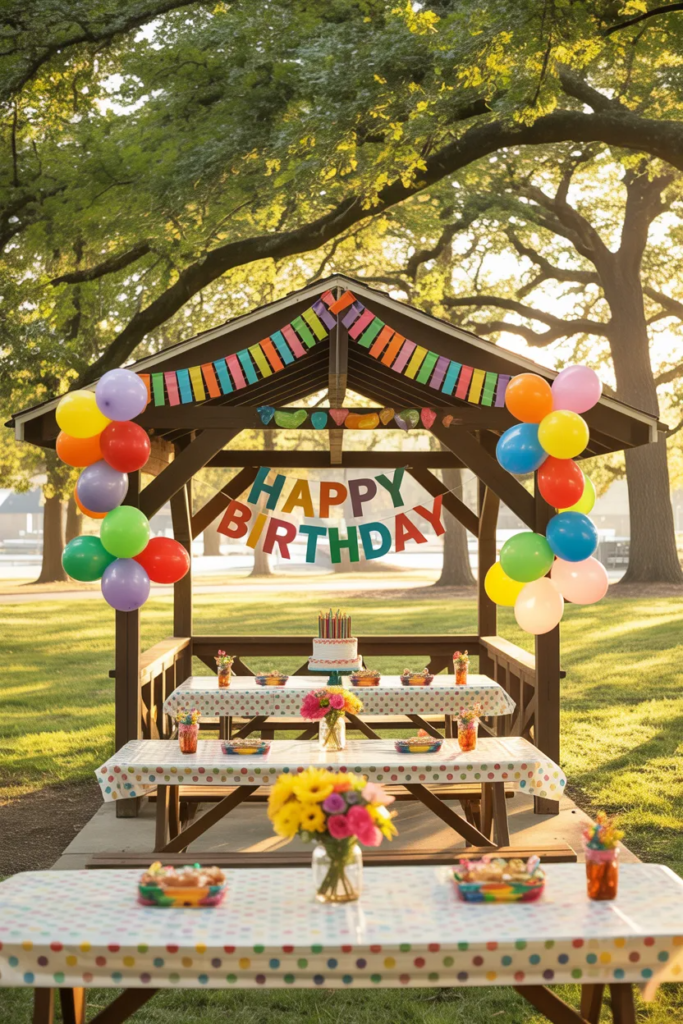
2. Hang a Balloon Garland Across the Front Beam
This is the most noticeable decoration I use at any pavilion party. A balloon garland works because it frames the entrance and acts as a photo spot.
I always mix balloon sizes instead of using one standard size. It makes the setup look more natural. With command hooks, I can install an 8–10 ft garland in under 30 minutes.
3. Throw Heavy-Duty Tablecloths Over the Picnic Tables
Light plastic covers never work outdoors in my experience. They move with the wind and ruin the setup.
I switched to flannel-backed vinyl tablecloths because they grip better. Binder clips also help if conditions are windy. This small change keeps the entire food area stable and clean-looking.
4. Create a Themed Centerpiece for Each Table
I keep centerpieces simple because guests usually focus on food and activity. Mason jars with flowers are my default option.
For themed parties, I add small items like toys or colored candy. It takes about 3 minutes per table and still looks planned and intentional.
5. Build a Photo Backdrop on One Pillar
A photo area is one of the most used spots in any pavilion party I’ve set up. I use foil curtains because they reflect light and cost very little.
I add a name banner and sometimes props like hats or glasses. This becomes the main memory spot for guests and increases photo sharing naturally.
6. Use Pennant Banners and Bunting Between the Pillars
I use fabric bunting to define the party space inside the pavilion. It visually turns an open shelter into a “room.”
Plastic or paper versions often fail outdoors. Fabric holds shape better and can be reused for future events, which lowers cost over time.
7. Anchor Balloon Bouquets to Every Table
Instead of helium, I use balloon sticks with weighted bases. It saves money and avoids balloons floating away.
I typically place three balloons per table. It takes around 15 minutes to complete all tables in a medium-sized pavilion setup.
8. Set Up a Dedicated Dessert and Cake Station
This is usually the most photographed table in my setup. I elevate the cake using simple boxes or stands to create height.
When I add a backdrop behind it, the area becomes the visual center of the party. Guests naturally gather here for photos and serving.
9. Drape Tulle or String Lights from the Ceiling Beams
I prefer string lights when events extend into evening hours. Battery-operated versions make setup simple without power access.
I drape them in zigzag patterns across beams. For daytime parties, I replace lights with tulle to soften the space visually.
Also read: Jurassic Park Birthday Party Ideas
10. Place a Welcome Sign at the Pavilion Entrance
I always place a sign at the entry so guests immediately know they are in the right place. It also sets the tone for the theme.
A chalkboard or printed sign works well and costs very little. It’s one of the simplest upgrades with strong visual impact.
11. The Full Pavilion Transformation on a $75 Budget — A Step-by-Step Deep Dive
I’ve built this full setup multiple times, and it consistently works within about 90 minutes.
The key is preparation: all items are pre-packed and organized before arrival. I always assign one person to décor and one to structure setup.
The result looks far more expensive than the actual cost because each layer builds on the next: tables first, then pillars, then overhead decor.
12. Add a Drink Station with Labeled Dispensers
I use self-serve drink stations to reduce constant refilling during the party. Lemonade and infused water are my standard choices.
Labeling drinks with themes makes even simple beverages feel part of the event design. It also reduces my workload during the party.
13. Use Nature as Free Decor
I often use what the park already offers instead of buying extra decor. This keeps costs low and feels more natural.
I’ve used branches, stones, and flowers from nearby areas to decorate tables. It blends well with outdoor settings and reduces waste.
14. What NOT to Bring to a Pavilion Party (The Cautionary List)
I’ve seen many setups fail because of lightweight or loose decorations. Wind is the biggest problem in open shelters.
I avoid confetti, helium balloons without weights, and fragile paper decor. Anything that cannot be secured will likely end up scattered.
15. Create a Personalized Birthday Banner
A name banner is one of the most important emotional touches in my setups. It makes the party feel personal.
Printed banners are easy, but DIY cardstock versions also work well. Size matters more than design complexity for visibility.
16. Lay a Ground Blanket for a Picnic Zone
I always create a ground seating area because kids naturally move there during parties.
A simple blanket with cushions creates extra space without additional rental cost. It also balances crowd flow across the pavilion.
17. Plan Your Cleanup Kit Before You Decorate
Cleanup planning saves me more time than decoration itself. I always bring trash bags, wipes, and scissors.
When everything is secured properly during setup, cleanup usually takes less than 20 minutes. It also helps protect park cleanliness rules.
Read this next: Park Birthday Party Food Ideas for a Zero-Stress
FAQ
How do you decorate a park pavilion for a birthday on a tight budget?
I focus on three things: table covers, a balloon garland, and a simple banner. These create most of the visual impact for under $30.
How far in advance should I reserve a park pavilion for a birthday party?
I usually recommend booking 3–4 months ahead, especially for weekends. Parks fill up quickly in peak seasons.
What decorations hold up best in the wind at a park pavilion?
Fabric, vinyl table covers, zip-tied banners, and weighted decor perform best. Lightweight paper items rarely last outdoors.
Can I hang things from a park pavilion’s beams and pillars?
Yes, but I only use zip ties, command hooks, or painter’s tape. I avoid anything that damages the structure or breaks park rules.
How long does it take to set up park pavilion decorations for a birthday?
Basic setups take about 30 minutes. Full styled setups with balloons and lighting take around 90 minutes with two people.