Looking for Christmas crafts you can actually pull off with a baby in tow — sweet, speedy, and realistic about tiny attention spans?
Inside you’ll find handprint and footprint keepsakes, unbreakable first-Christmas ornaments, baby Christmas card ideas, and simple toddler art, all made with washable, non-toxic supplies.
Expect setups you can manage during a nap, projects that take about five minutes, and keepsakes you’ll pull out every December.
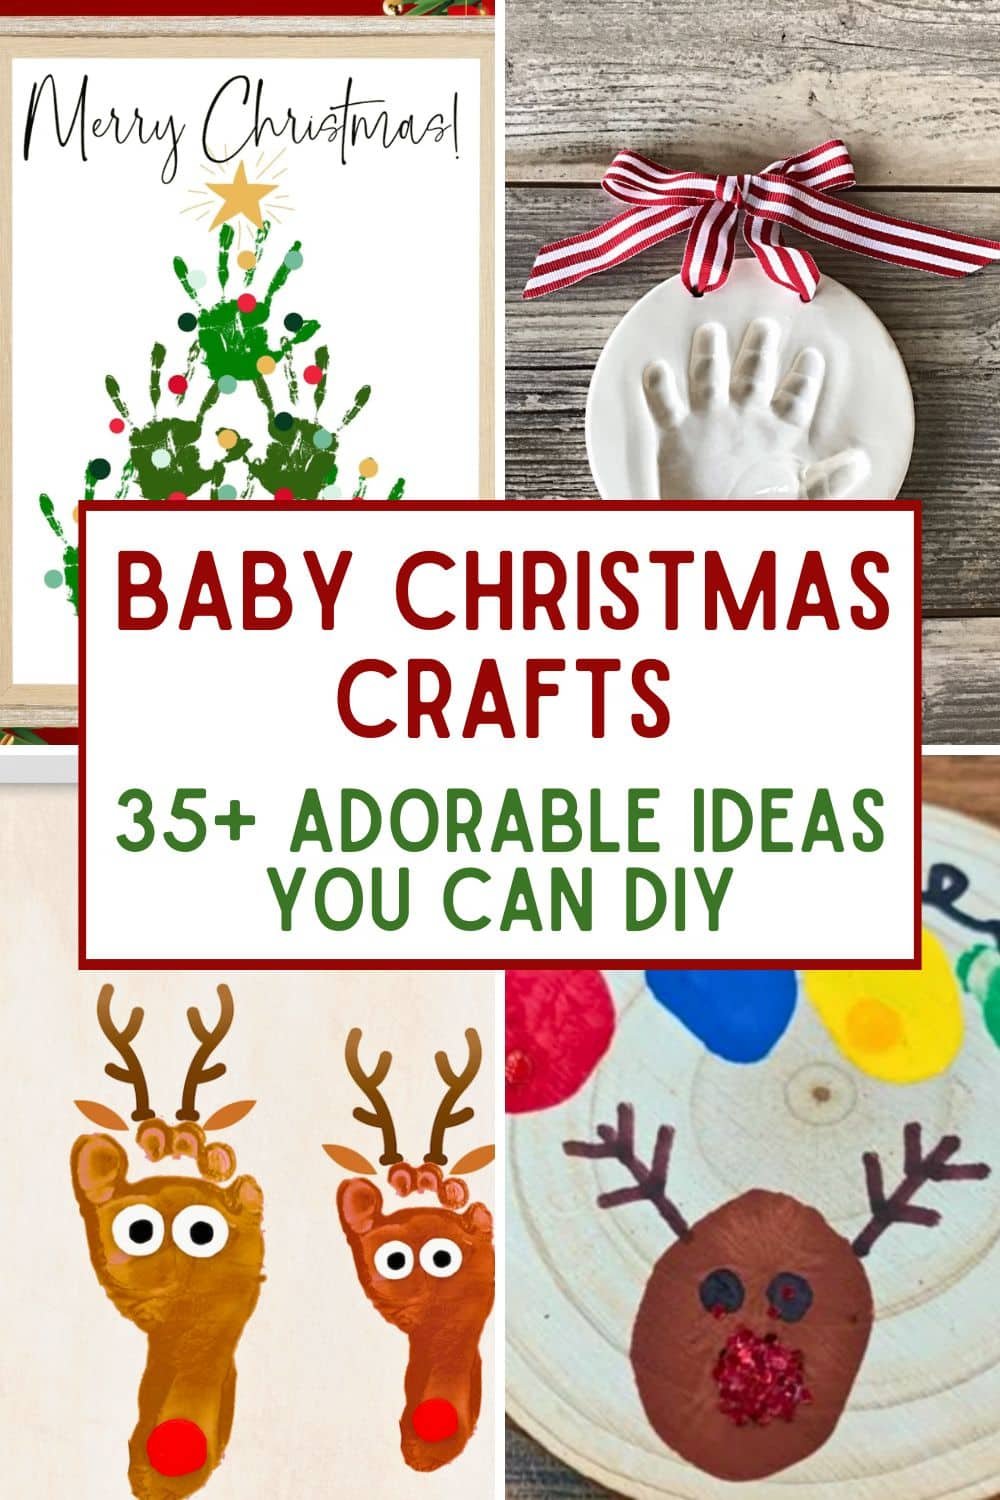
How to Use This Post
Start with the sections that match your baby’s stage, choose one quick win, and have it ready in five minutes or under.
Every idea lists an Age, the Supplies, and the Steps, with an optional Bonus Tip on most of them.
Take pictures as you work — little hands mid-craft are the memories you’ll want later.
Handprint & Footprint Keepsakes (Heart-melt guaranteed)
A few quick stamps are all it takes to turn tiny hands and feet into Christmas art worth framing.
1) “Mistle-Toes” Footprint Art
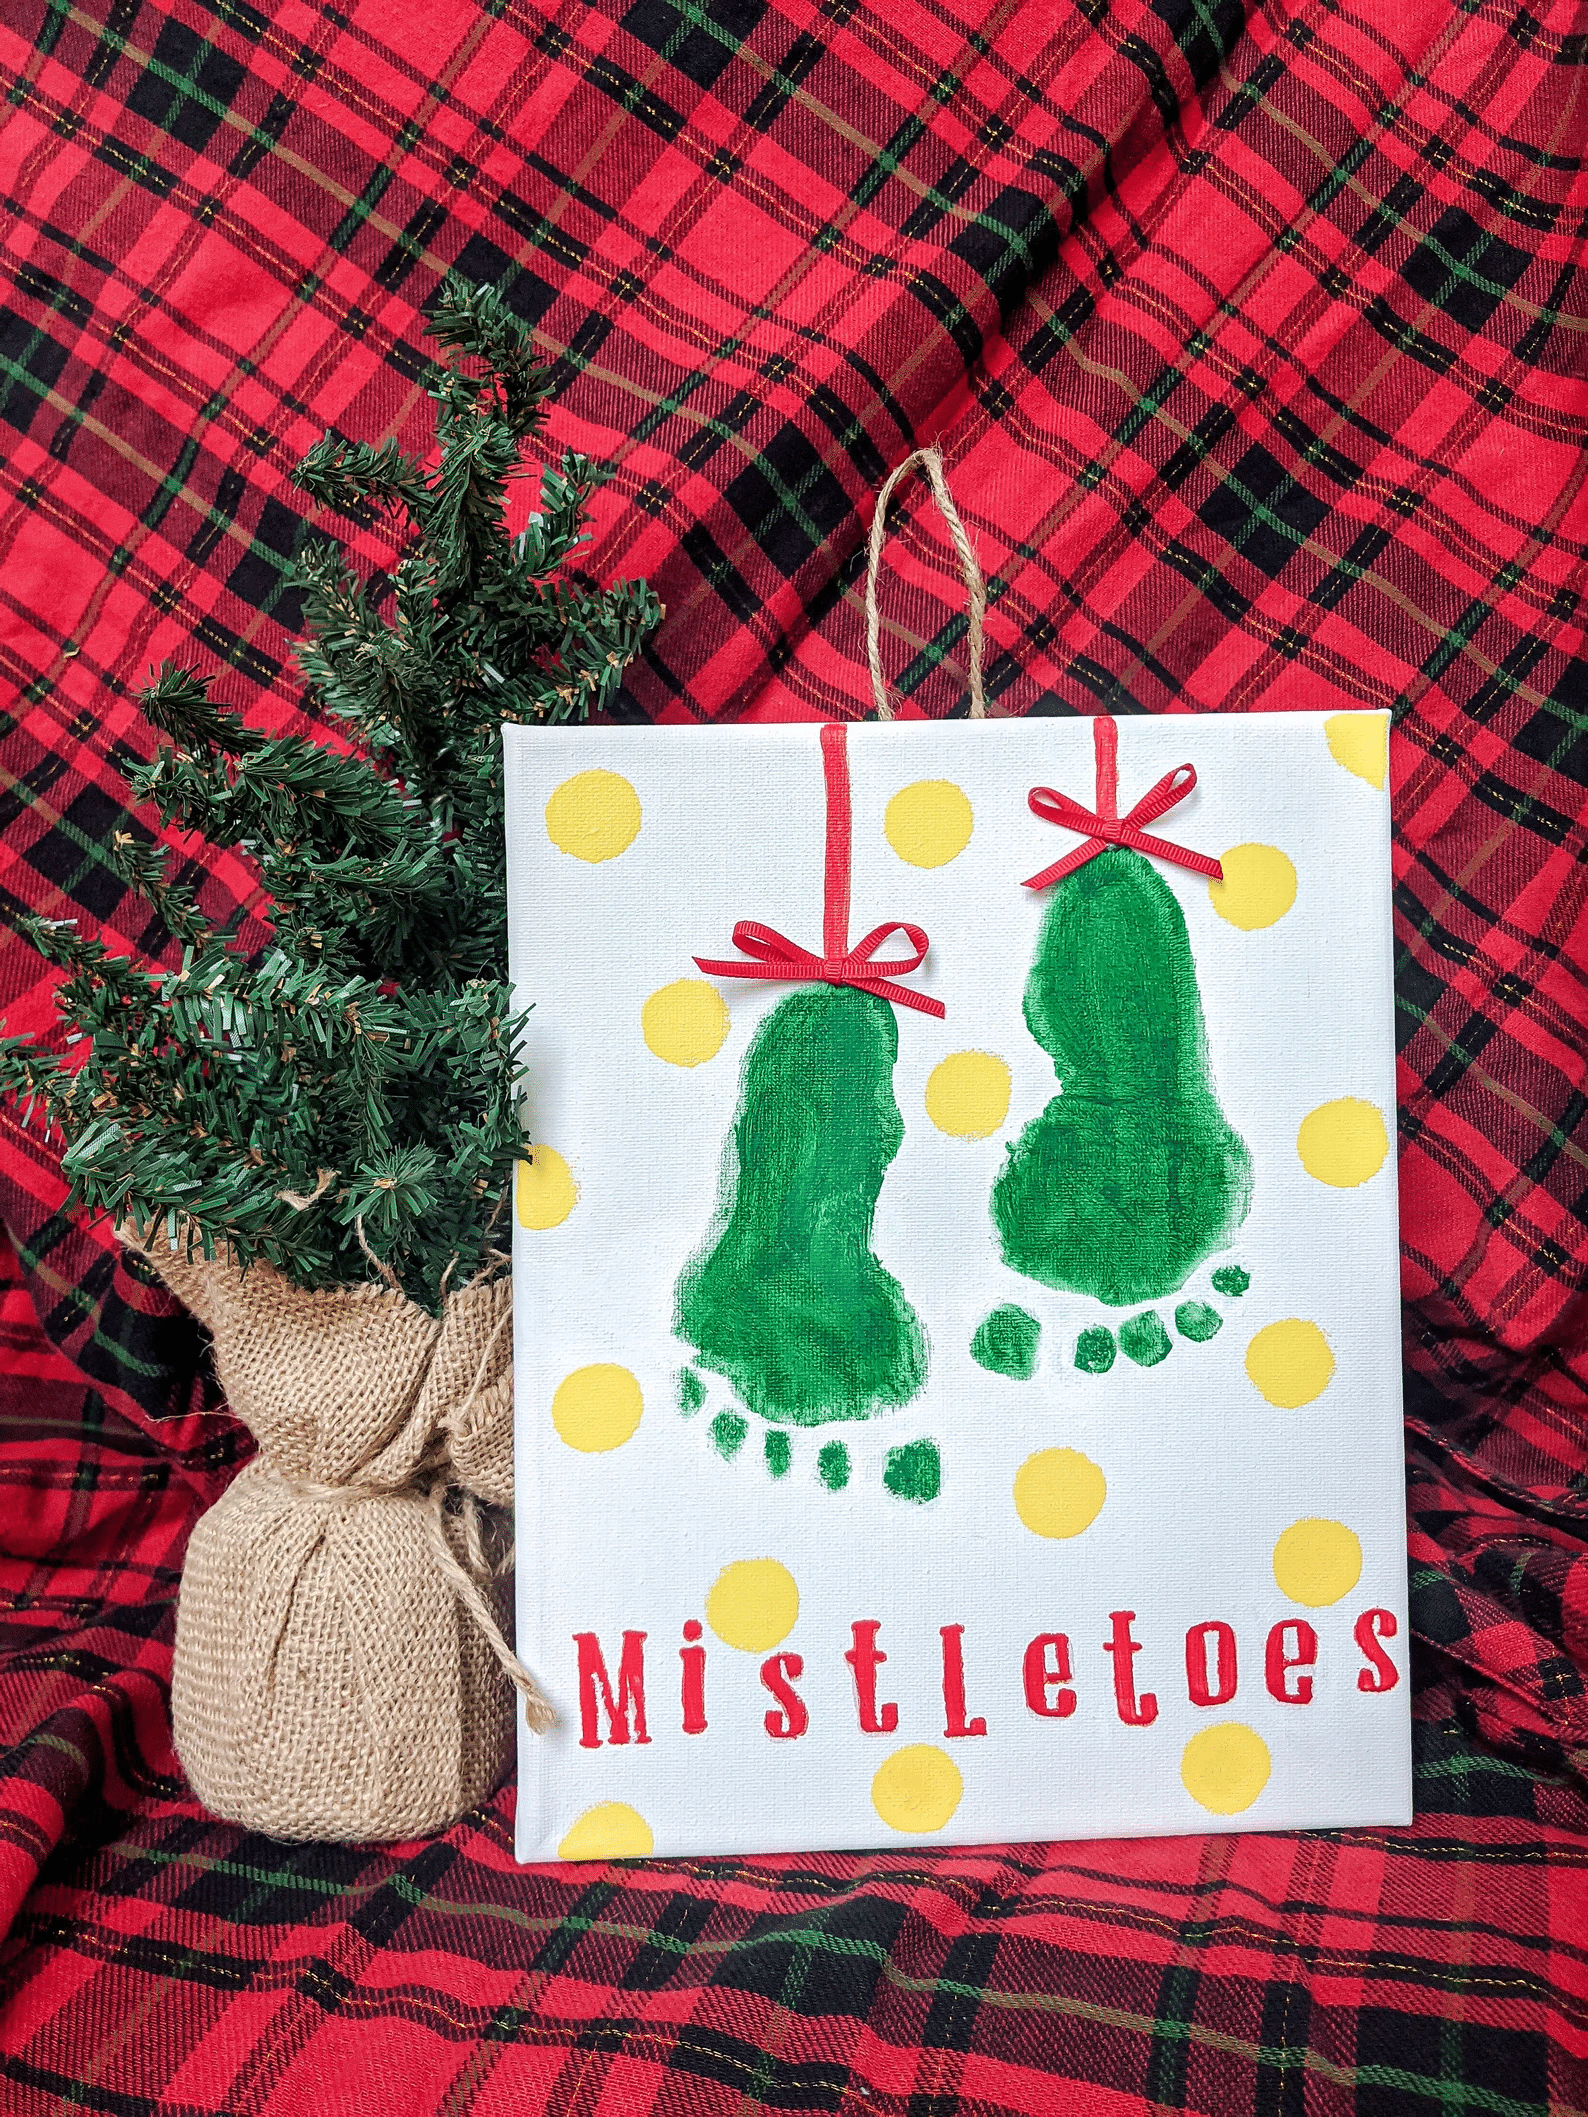
- Age: 0–18 months
- Supplies: Green paint, cardstock/canvas, red marker or dot stickers
- Steps: Press two green footprints onto the page so they hang like mistletoe leaves, dot on red berries, and write “Mistle-Toes” underneath.
Bonus Tip: Test the stamp once on scrap paper before the real one.
2) Christmas Handprint Tree
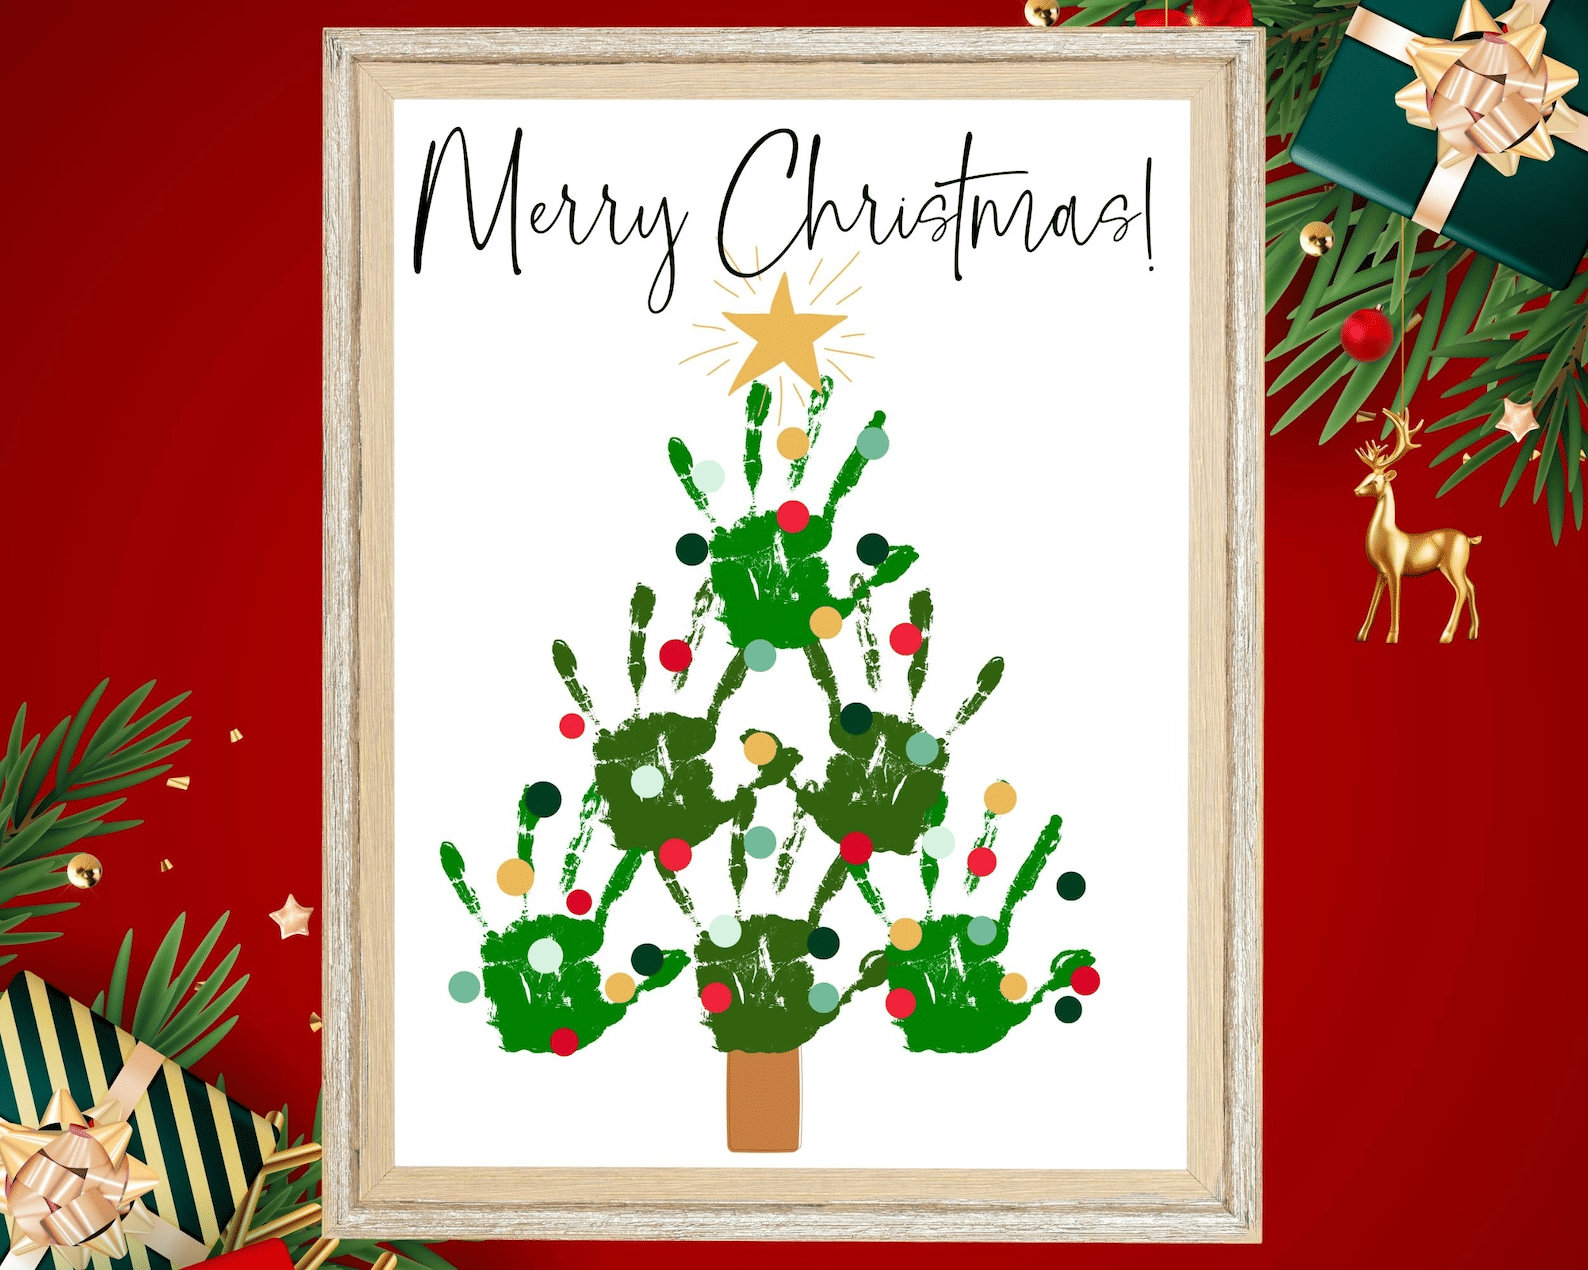
- Age: 6–24 months
- Supplies: Green paint, star sticker, cardstock
- Steps: Layer green handprints so they overlap into a triangle tree shape, then finish with the star sticker on top.
Bonus Tip: Bingo daubers make perfect little ornaments.
3) Santa Handprint Beard Card (Baby Christmas Card Idea)
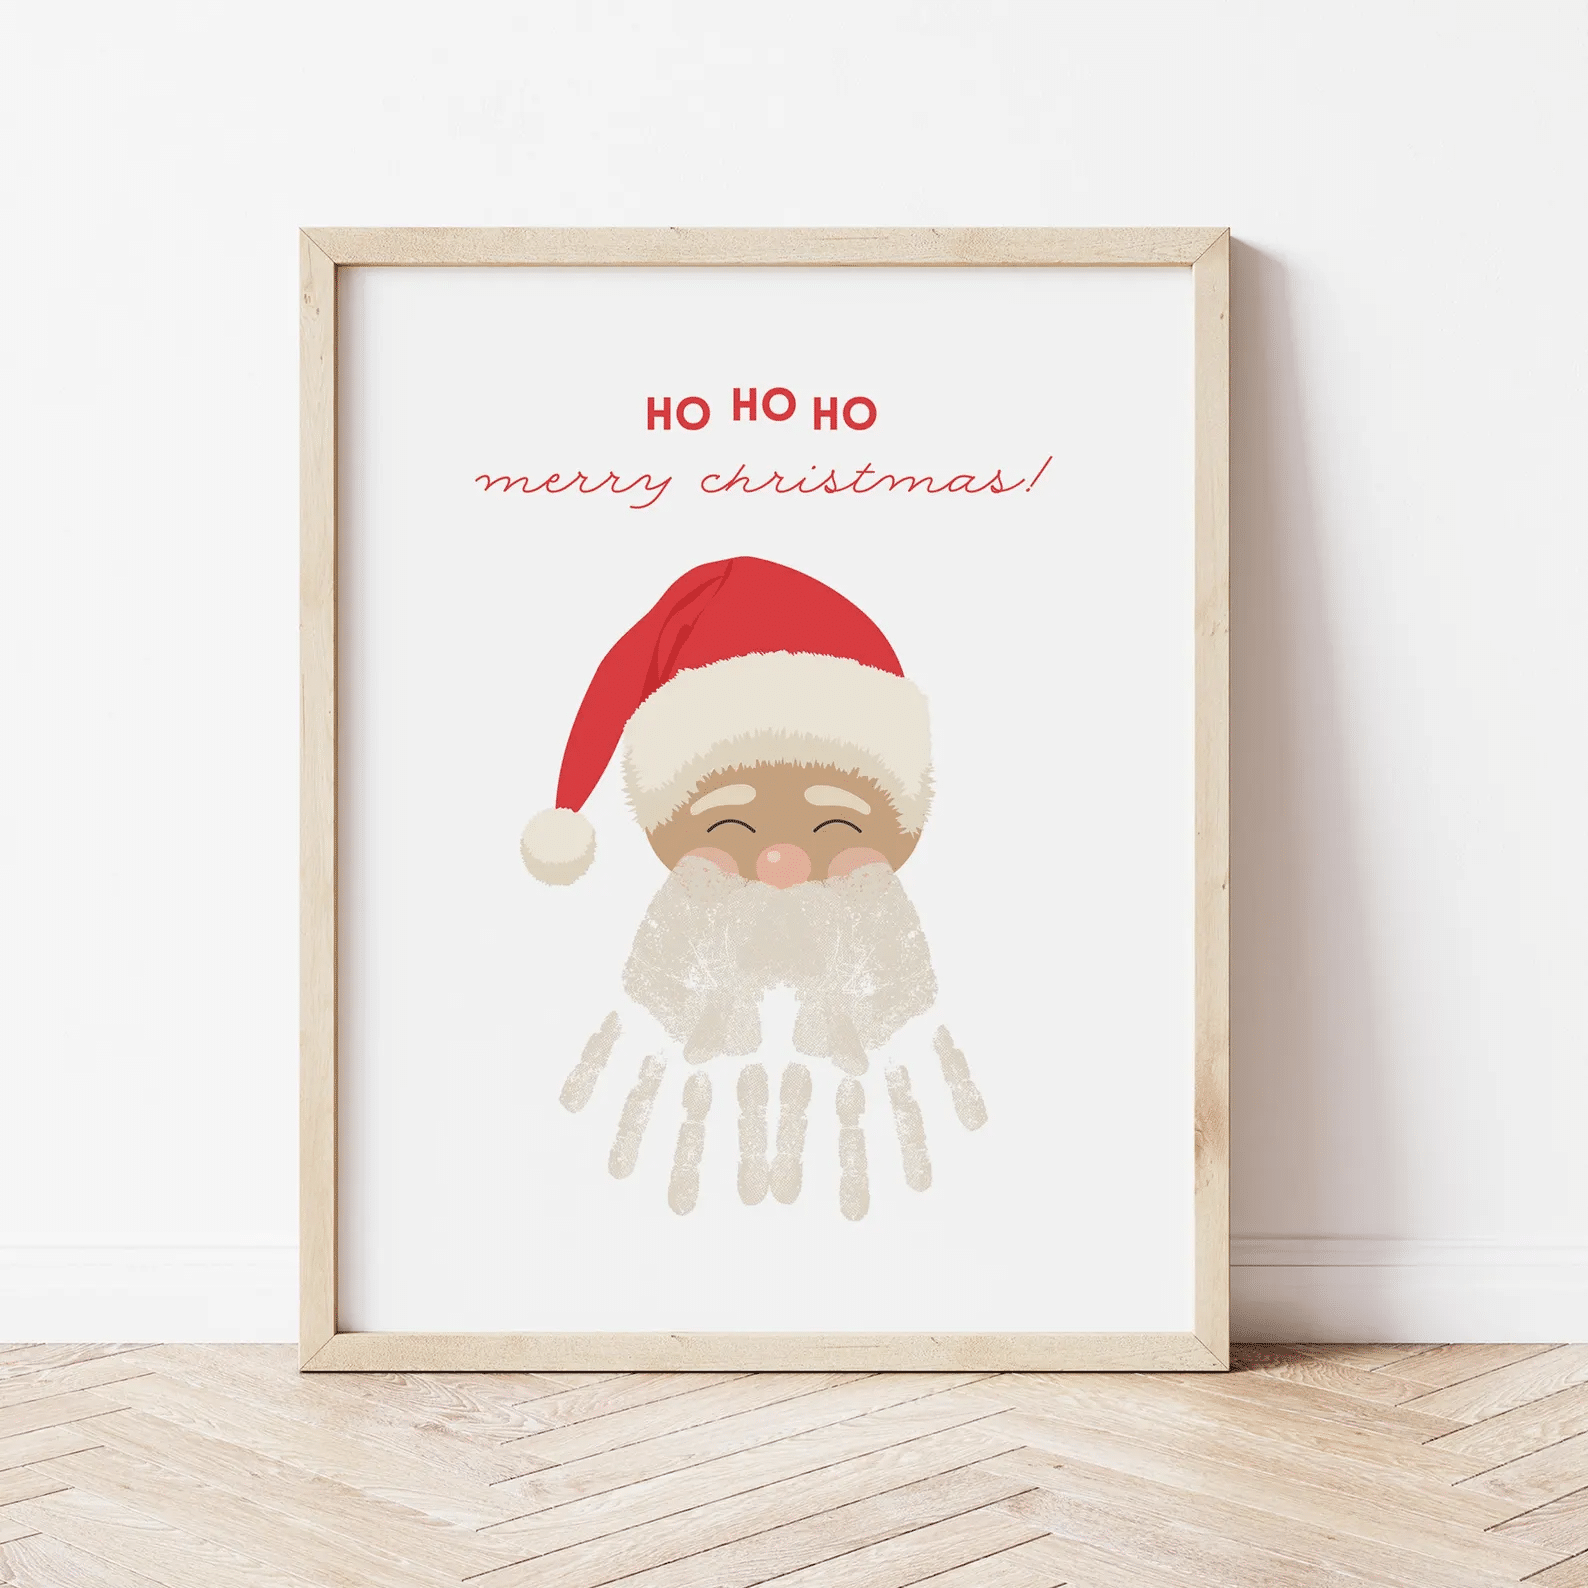
Santa Beard Handprint
- Age: 6–24 months
- Supplies: White paint, pink circle (face), red hat triangle, glue stick
- Steps: Glue down the face circle and hat triangle first, stamp a white handprint below them as Santa’s beard, and draw on the eyes.
Bonus Tip: Write “Ho-Ho-Hold Me!” across the front.
4) Reindeer Footprint Keepsake
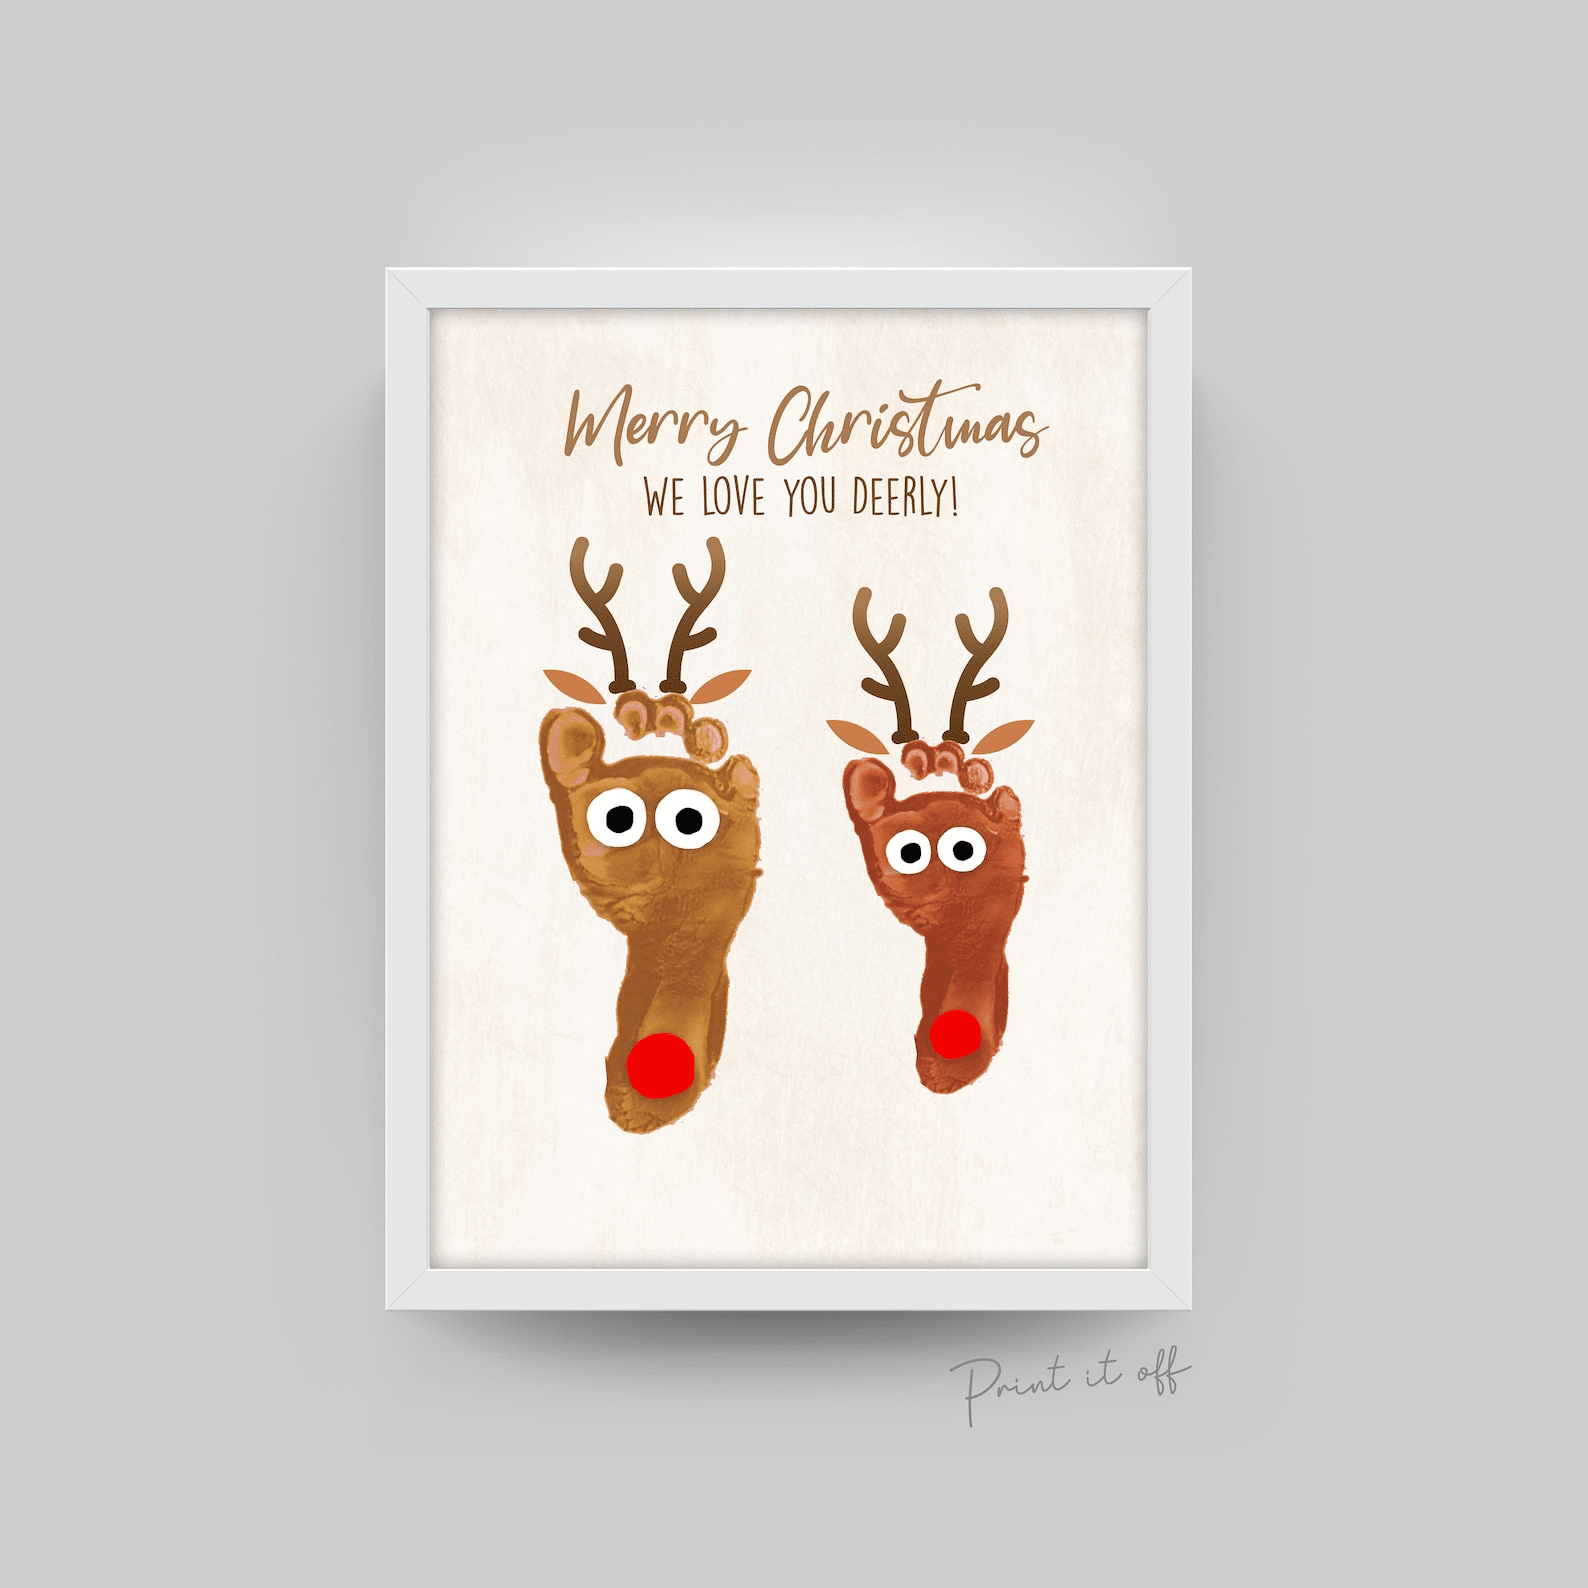
- Age: 0–18 months
- Supplies: Brown paint, markers, jumbo googly eyes (optional), red pom (or marker)
- Steps: Use one brown footprint as the reindeer’s head, then draw in antlers, add the eyes, and finish with a red nose.
Bonus Tip: With infants, draw the nose on rather than gluing a pom.
5) Peppermint Stripe Handprint
- Age: 6–24 months
- Supplies: Red paint, white cardstock
- Steps: Brush red stripes across your baby’s palm and stamp repeatedly so the prints build into a candy cane pattern.
Bonus Tip: Cut the finished prints into gift tags.
DIY Baby’s First Christmas Ornaments (Unbreakable & giftable)
These ornament ideas are sturdy enough to survive curious hands — and cute enough for grandma’s tree.
6) Salt Dough Handprint Ornament (Baby Ornaments DIY)

Salt Dough Handprint Kit
- Age: 0–12 months
- Supplies: 1c salt, 2c flour, ~¾c water, straw, ribbon
- Steps: Stir the dough together, roll it flat, press your baby’s hand in, poke a hole with the straw, bake at 200°F (93°C) for 2–3 hours, then cool it fully before painting or sealing.
Bonus Tip: Add the name and year with a paint pen.
7) Clear Plastic Fillable Ornament with Pom Poms
- Age: 9–24 months
- Supplies: Plastic fillable ornament, large poms
- Steps: Let your baby drop the poms inside, then a grown-up closes it and hot-glues the cap shut.
Bonus Tip: Slip a mini photo into the back half.
8) Photo Lid Ornament
- Age: 6–24 months
- Supplies: Clean jar lid, baby photo, ribbon, hot glue
- Steps: Glue the photo inside the lid and attach a ribbon loop for hanging.
Bonus Tip: A strip of washi tape around the rim gives it a tidy edge.
9) Wood Slice Thumbprint Lights
- Age: 9–24 months
- Supplies: Wood discs, non-toxic ink pads or acrylics, thin marker
- Steps: Draw a wavy line across the disc as the wire, then press colorful thumbprints along it as the bulbs.
Bonus Tip: Once it’s dry, seal it with Mod Podge.
10) Felt Tree Shaker (No-Break)

Tree Pattern
- Age: 9–24 months
- Supplies: 2 felt trees, large jingle bell or crinkle paper, yarn
- Steps: Layer the filling between the two felt trees and blanket-stitch the edges closed.
Infant tweak: Under 1, leave the bells out and stuff it with crinkle paper only.
Bonus Tip: For babies under 1, crinkle paper alone is the safer filling.
Sensory-Friendly Christmas Art for Babies
These low-mess projects are all about texture, sound, and safe exploring.
11) Taste-Safe Finger Paints (Yogurt Paint)
- Age: 6–12 months
- Supplies: Plain yogurt + a drop of food coloring, tray, cardstock
- Steps: Swirl the tinted yogurt over the tray, then press the cardstock on top to lift a print.
Bonus Tip: Tape the paper down so it stays put.
12) Snowy Sensory Bag (Zero-Mess)
- Age: 6–18 months
- Supplies: Zip bag, hair gel or shaving cream, large sequins, painter’s tape
- Steps: Fill the bag, seal it well, tape it to the tray, and let your baby squish away.
Infant tweak: Go with hair gel instead of shaving cream, double-bag it, and tape every edge to the tray.
Bonus Tip: Tape a tree outline on the outside of the bag for tracing.
13) Jingle Discovery Bottle
- Age: 6–18 months
- Supplies: Clear plastic bottle, big bells, ribbon scraps
- Steps: Fill the bottle, hot-glue the lid on, and shake it along to some music.
Bonus Tip: A few glitter stars inside add sparkle — just keep the bottle sealed.
14) Peppermint Play Dough (Homemade)
- Age: 9–24 months
- Supplies: Basic play dough + peppermint extract, red/green coloring
- Steps: Mix up the dough in two colors and set out chunky cutters to play with.
Bonus Tip: Kept airtight, it lasts up to a week.
15) Mini Christmas Sensory Bin

Sensory Bin Kit
- Age: 9–24 months
- Supplies: Oats or large pom poms, scoops, jumbo stars/bells
- Steps: Scoop it, pour it, and let little hands explore all the textures.
Bonus Tip: For infants, stick to large pieces only.
Paper, Stickers & No-Paint Wins (High-chair approved)
Quick wins you can finish before snack time is over — no paint, no tears, still adorable.
16) Contact-Paper Tree Collage
- Age: 9–24 months
- Supplies: Contact paper (sticky up), paper tree frame, tissue squares
- Steps: Tape the contact paper down sticky-side up, let your baby press tissue squares onto it, then seal everything with a second sheet.
Bonus Tip: Use their photo as the “star.”
17) Dot-Sticker Lights Garland
- Age: 9–24 months
- Supplies: Cardstock, black marker “wire,” colored dot stickers
- Steps: Draw the wire line, then let your baby stick the “bulbs” along it.
Bonus Tip: Punch holes along the top and thread it into a banner.
18) Paper Plate Wreath
- Age: 9–24 months
- Supplies: Plate (center cut out), green tissue, glue stick, bow sticker
- Steps: Crumple the tissue and stick it all around the plate ring, then add the bow.
Bonus Tip: Hang it on a bedroom door with ribbon.
19) Ornament Sticker Sheets (Toddler Christmas Art)
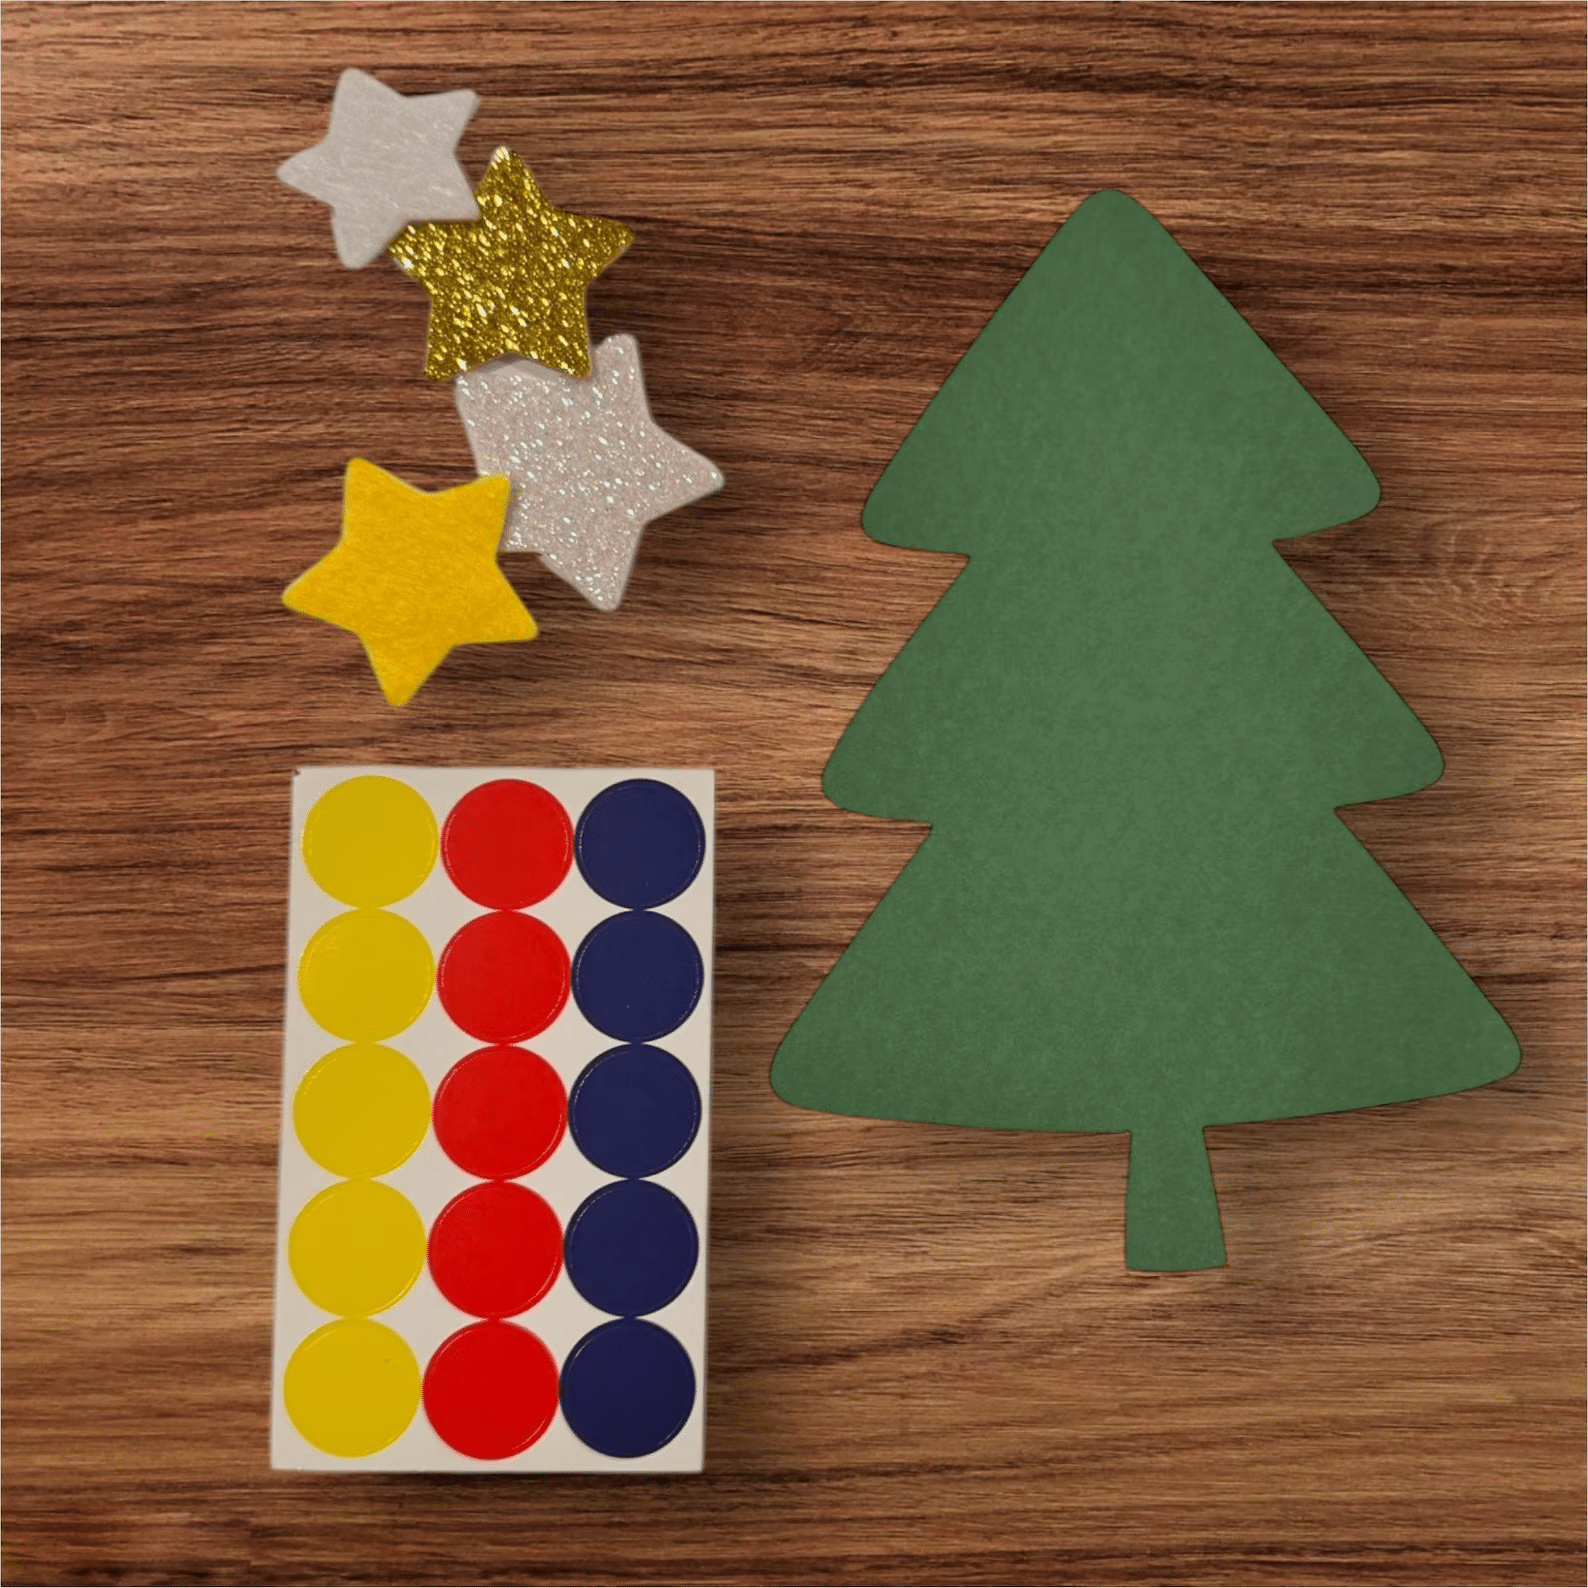
- Age: 9–24 months
- Supplies: Ornament outlines, stickers or bingo daubers
- Steps: Fill each ornament shape in with dots.
Bonus Tip: Printing on cardstock makes them sturdy enough to keep in a binder.
20) Santa Hat Peekaboo Photo Card (Baby Christmas Card Idea)
- Age: 6–24 months
- Supplies: Baby photo, red triangle, cotton balls, glue
- Steps: Glue the hat and its cotton-ball trim right onto the photo card.
Bonus Tip: Write “Baby, It’s Cold Outside (snuggle me).”
Nature & Recycled (Walk-then-craft)
A short stroller walk doubles as a free supply run — then you craft with whatever you gathered.
21) Pinecone “Trees”
- Age: 12–24 months
- Supplies: Pinecones, green paint (optional), jumbo poms
- Steps: Pre-paint the cones yourself, then let your baby press the poms into the scales.
Bonus Tip: Glue them onto jar lids to make stands.
22) Cardboard Gingerbread Family
- Age: 9–24 months
- Supplies: Box cardboard, white paint pen, stickers
- Steps: Cut out the gingerbread shapes, let your child add sticker “candy,” and have a grown-up draw the icing details.
Bonus Tip: Label each one with a name and you’ve got an instant mantel display.
23) Kraft Paper Gift Wrap Stamping
- Age: 9–24 months
- Supplies: Kraft roll, washable paint, foam/potato stamps
- Steps: Tape the paper down and stamp all over it together.
Bonus Tip: Bubble-wrap on a rolling pin makes a fun texture stamp.
24) Bottle-Cap Snowmen
- Age: 12–24 months
- Supplies: Caps, white paint, markers, ribbon
- Steps: Paint the caps white, draw on the faces, and tie on a ribbon scarf.
Bonus Tip: Three glued in a row make a hanging ornament.
Snack-Crafts (Edible-ish activities)
Little projects that end as a festive snack — and a photo-op before the first bite.
25) Banana-Strawberry Candy Cane
- Age: 9–24 months (food introduced)
- Supplies: Banana + strawberry slices
- Steps: Alternate the slices on a plate until they curve into a cane shape.
Bonus Tip: Take the photo before anyone starts nibbling.
26) Graham “Gingerbread” Canvas
- Age: 12–24 months
- Supplies: Graham cracker, yogurt “icing,” soft fruit bits
- Steps: Spread the yogurt on like icing and decorate it like a little house.
Bonus Tip: Serve it straight away — it softens quickly.
27) Marshmallow Snowman Stacks
- Age: 12–24 months
- Supplies: Large marshmallows, yogurt dip, pretzel sticks (optional). Orange jelly beans for the nose!
- Steps: Stack the marshmallows using yogurt as the “glue.”
Bonus Tip: Leave the pretzels out for infants.
Photo-Op Props (Craft it, then snap it)
Each prop takes minutes to make — then you grab the holiday photo and get on with your day.
28) No-Sew Felt Antlers Headband
- Age: 9–24 months
- Supplies: Soft headband, felt antlers, hot glue (grown-up)
- Steps: Glue the antlers onto a felt strip, then attach the strip to the band.
Bonus Tip: A red felt “nose” on a onesie completes the look.
29) Jumbo Candy Cane Backdrop
- Age: 9–24 months
- Supplies: Pool noodle, white + red duct tape
- Steps: Spiral-wrap the tape around the noodle.
Bonus Tip: Two of them form a cute doorway arch for photos.
30) Elf Shoe Covers (Photo-Only)
- Age: 12–24 months
- Supplies: Felt, elastic, poms
- Steps: Cut simple bootie shapes, glue on the poms, pop them on for about 60 seconds, take the photo, and take them off again.
Bonus Tip: They pair perfectly with green leggings.
10-Minute “I Can Do This Today” Ideas
No-prep favorites for the days when you have ten minutes of energy and not a second more.
31) Sticker Snowflakes on windows (gel clings or removable)
32) Dot-Marker Christmas Trees (printable outlines)
33) Pom-Pom Transfer Game (red/green poms + muffin tin)
34) Ribbon Pull Ring (wood ring + tied ribbons)
35) Cardboard Tube Stampers (bend into star/heart; dip & stamp)
36) Paper Chain Countdown (tear-off loops with baby’s help)
37) Thumbprint Light-Bulb Frame (around a photo for grandparents)
Set-Up & Clean-Up hacks
A handful of smart habits keeps the fun high and the mess low.
Contain the mess: A shallow under-bed bin works perfectly as your craft tray.
Dress for success: A plain white onesie photographs beautifully and bleaches clean afterwards.
Drying zone: Cooling racks over parchment keep finished pieces off the table while they dry.
Memory hack: Put the name, age, and date on everything — the back corner is fine.
FAQs (Quick answers you actually need)
Short, practical answers so you can say yes to craft time without second-guessing yourself.
What paints are safest for babies?
Stick with washable, non-toxic paints that are AP-certified. For babies under 1, go taste-safe with something like tinted yogurt, and always skip small parts and essential oils.
Can my baby really “help” with crafts?
Absolutely — for a baby, helping looks like stamping, sticking, smearing, and squishing textures while you take care of the cutting and hot glue.
How do I make Baby Christmas Card Ideas fast?
Begin with a photo, add a paper Santa hat with cotton-ball trim or a handprint tree, write a short message, and you’re done.
What are the easiest Christmas Crafts for Infants?
The no-mess options win here: sensory bags, contact-paper collages, and big-sticker activities. Save the handprint and footprint keepsakes for a day when there’s an extra set of hands around.