
A gender reveal at home doesn’t need confetti cannons or a big production — the sweetest versions are simple, calm, and easy to photograph.
This guide rounds up low-mess ideas you can pull together in minutes, from biting into a filled cupcake to lifting the lid on a single balloon in a box, along with photo tips that make the most of plain window light.
Pick one favorite idea, keep a simpler backup in your back pocket, and use the timeline and shot list below so you end up in the pictures instead of running the show.
Quick Planning Checklist (1–2 minutes to skim)
Run through this quick list, choose your spot, and you’ll be ready in minutes — no overthinking required.
Pick your moment: decide how the color appears — a sliced dessert, an opened box, a pulled banner, a lifted lid.
Choose your spot: stand near a window or an open doorway where the light is bright and even.
Assign jobs: one person films vertically, one takes still photos, and one gives the countdown cue.
Hide the color: hand the envelope to a trusted friend or the bakery, or seal it and mark it “Do Not Peek.”
Backup plan: keep a letterboard-and-baby-shoes photo ready in case nap time derails the schedule.
Cleanup kit: a trash bag, a lint roller, and a damp cloth — chances are that’s all you’ll reach for.
Pro Tip: Switch your phone to its highest video quality setting and give the lens a quick wipe with a soft cloth — it makes a surprising difference.
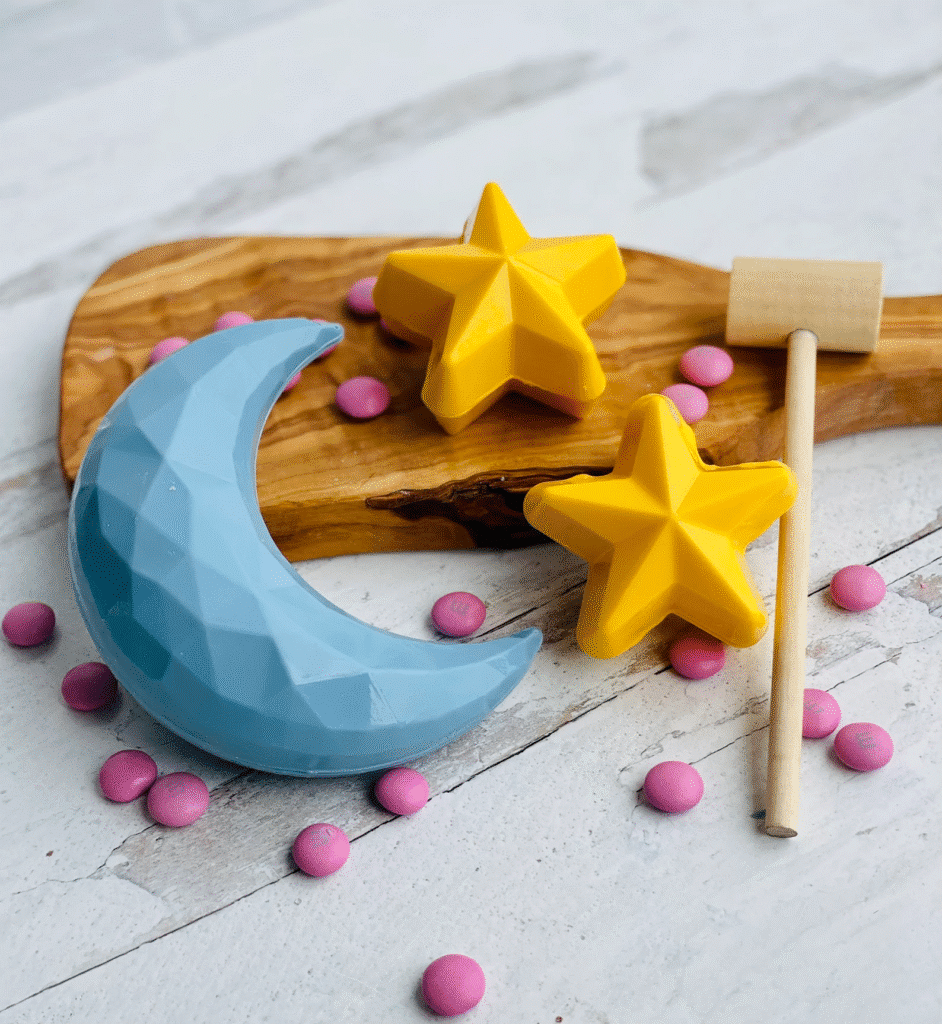
Breakable Chocolate
15 Easy At-Home Reveal Ideas (Minimal Mess)
Go with one idea you love and keep a second, simpler one as your backup — that’s the recipe for a calm, joyful moment.
Banner pull. Roll a small “It’s a ___!” banner up like a scroll and secure it with a tiny tab of tape. Face a window, count down together, then unroll it toward the camera so the words fill the whole frame. Keep smiling for a few beats afterward so your helper captures both stills and video.
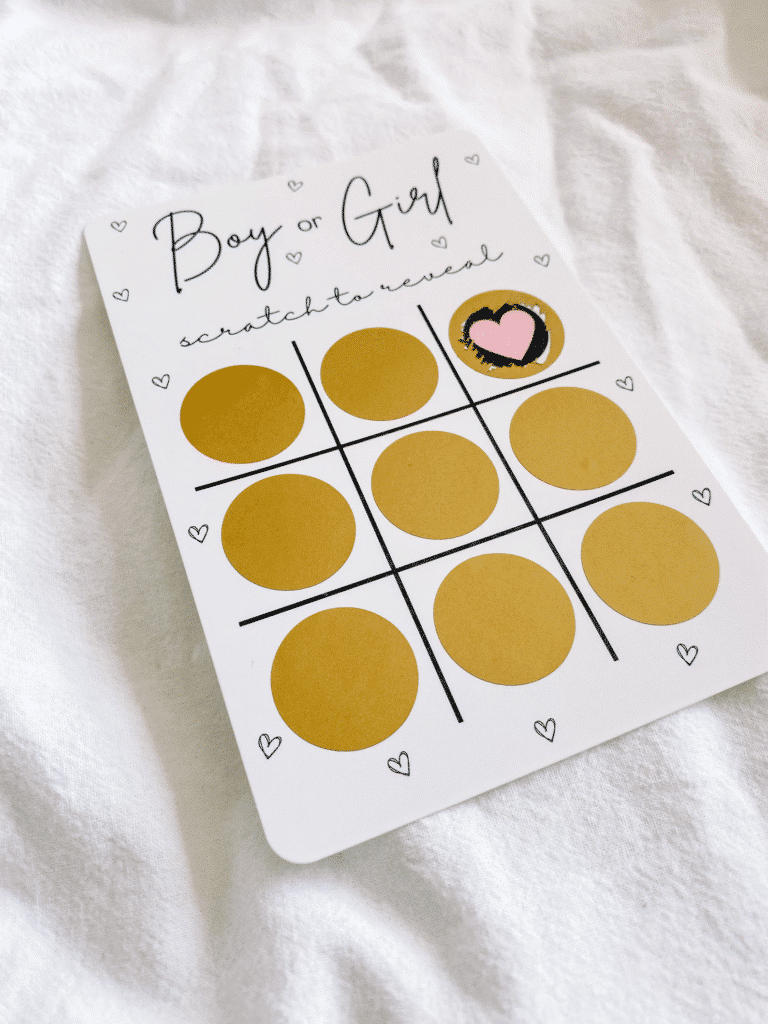
Scratch Off
Scratch-off cards. Hand every guest a card to scratch — or mail them to grandparents and reveal together over FaceTime. Call out a quick “ready… go!” so everyone uncovers the answer at the same moment, then take one overhead photo of the finished cards for your album.
Puzzle flip. Order a 12-piece photo puzzle printed with “It’s a ___” and build it together, letting a sibling slot in the final piece while the two of you react. Photograph the completed puzzle flat on a table beside a window for the cleanest look.
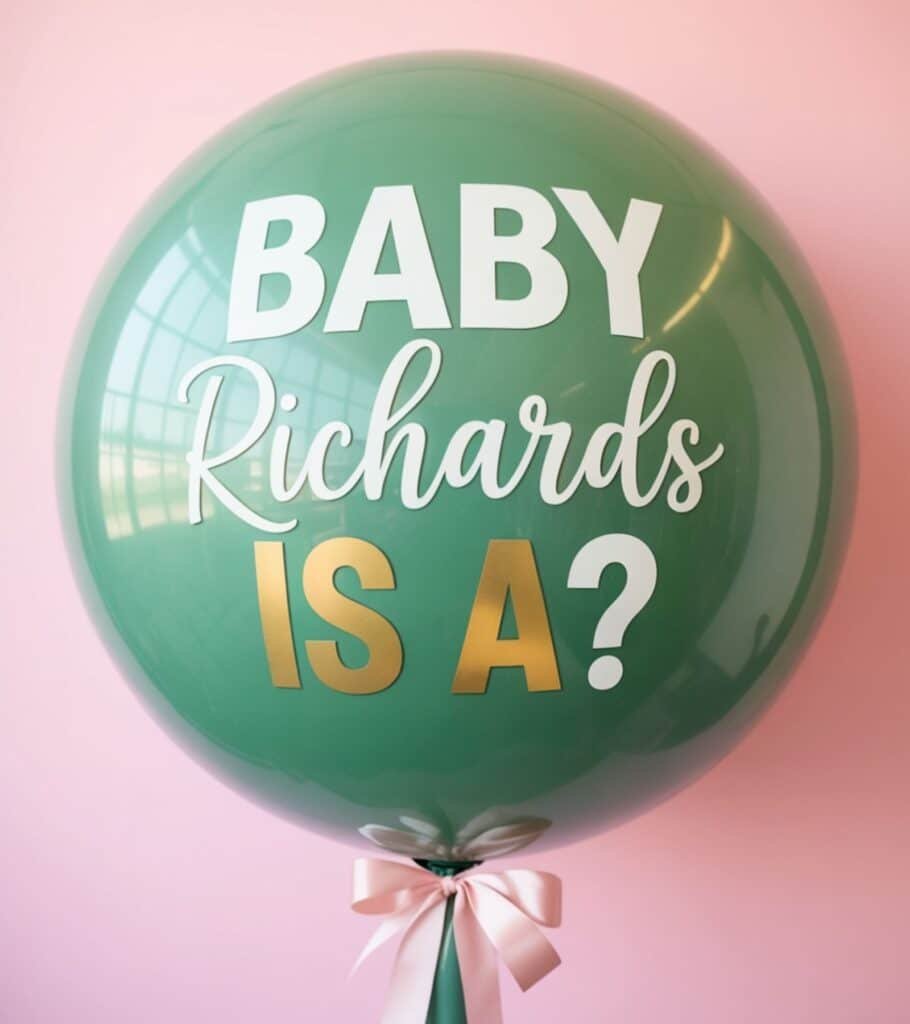
Balloon box (tissue only). Tuck a single helium balloon into a shoebox-sized box under a layer of pastel tissue. Lift the lid together and hold still while the balloon floats up between you. Bonus: there’s no confetti to sweep up.
Cupcake center. Ask the bakery to hide colored frosting in the middle of a cupcake. Stand shoulder to shoulder, take one bite at the same time, and angle the cupcake so the filling shows to the camera — then take a second bite as insurance.
Confetti poppers (porch/outdoors). Head outside, turn slightly upwind, and pop them on “three.” Snap one more photo afterward with the confetti scattered on the ground, then head back in. (Outdoors only — and choose biodegradable.)
Ribbon pull. Coil a long ribbon in your reveal color inside a plain gift bag. Draw it straight up and let the end drape down while you smile at each other first, then at the camera. Simple, tidy, and very cute.
Streamer shower. Tape streamers across the inside of a doorway and walk through them slowly while your helper shoots in burst mode. It reads festive on camera and takes almost no time to clear away.
Tiny piñata (tissue, not candy). Stuff it with a few tissue tassels instead of sweets. One gentle tap opens it — no sweeping marathon — which also makes it perfect for a toddler helper.
Book reveal. Wrap a board book and tuck a colored inner page or ribbon inside. Unwrap it together, open to the first spread, and tilt it toward the lens so the color reads clearly.
Balloon dart (one balloon). Outdoors only: mount one pre-filled confetti balloon on a stand, pop it with a pin on a stick, then grab a close-up of the confetti on the grass. Keep the whole thing brief, for the neighbors’ and pets’ sake.
Photo frame flip. Place two prints back-to-back in a single frame and flip it over to show the color. It works beautifully for a quiet living-room reveal and doubles as a flat-lay prop afterward.
Tea towel reveal. Hide a petite cake underneath a pretty tea towel. Lift it off together and lean in behind the cake so the frosting color takes center stage. Finish with one tight shot of the cake top — perfect for Pinterest.
Ribbon “smoke” (no fire). Load a box with paper ribbons curled into spirals in your reveal color. Lift the lid and give the box a gentle shake so the curls spill upward. All the drama, with none of the cleanup.
Mini marquee letter. Place a small light-up “B” or “G” beneath a cloche. Lift it for the ta-da moment, then set the cloche down beside it for a styled detail shot.
Pro Tip: If confetti or powder plays any part in your plan, keep it outside and pick the biodegradable kind — a quick spritz from the hose makes cleanup almost effortless.
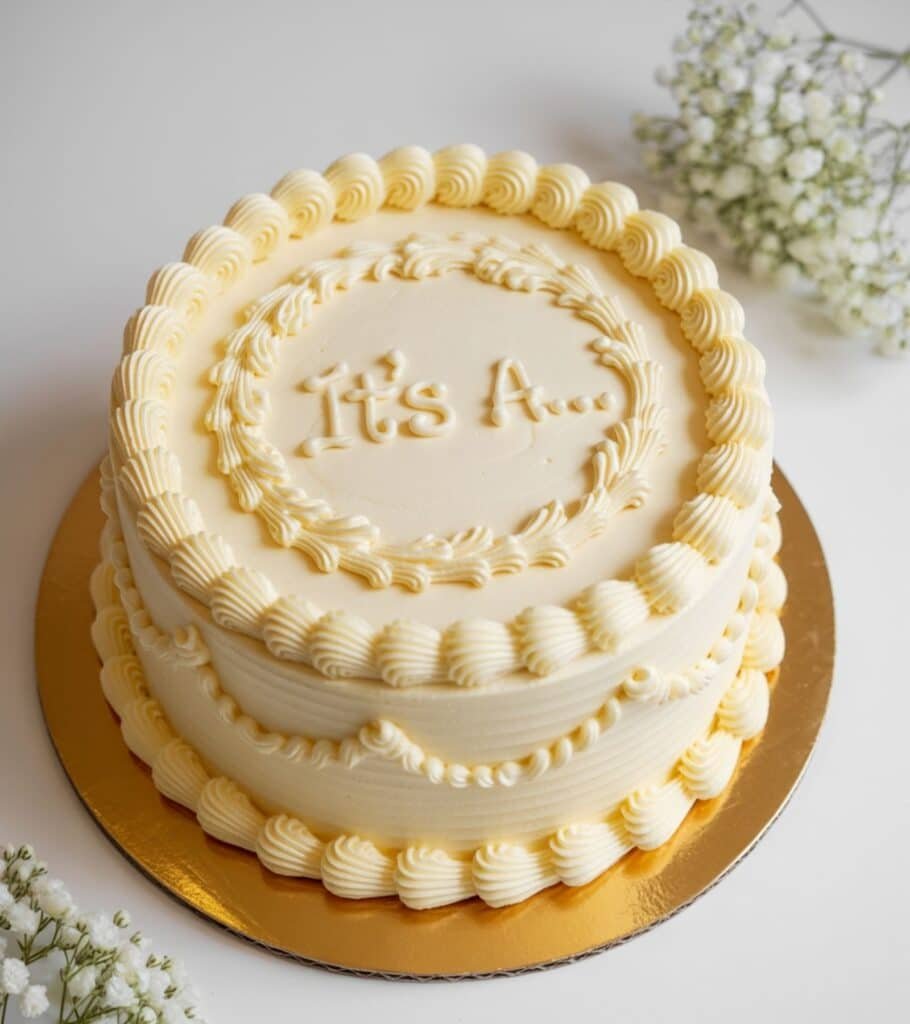
Which Reveal Fits Your Day?
| Reveal | Setup Time | Mess Level | Photo Difficulty | Best For |
|---|---|---|---|---|
| Cupcake Center | 5 min | Low | Easy | Indoors, tiny group |
| Mini Cake Slice | 10 min | Low | Easy | Classic photos |
| Balloon-in-a-Box | 10 min | Low | Easy | Small spaces |
| Scratch-offs | 5 min | None | Easy | FaceTime with family |
| Porch Confetti Pop | 5 min | Medium* | Easy | Quick outdoor moment |
*Confetti stays outdoors only — and biodegradable is best.

Photo-First Reveals (Pretty Pics, Zero Chaos)
Every setup in this section is designed to look gorgeous using nothing more than window light.
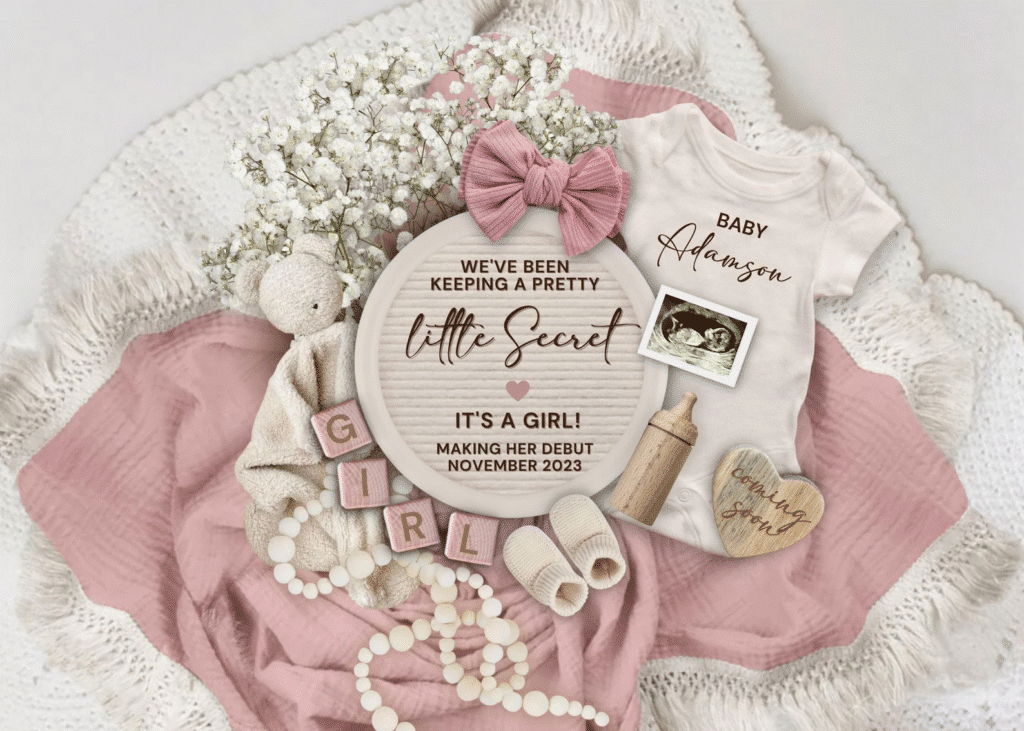
Letterboard moment. “Baby ___ arriving ___” spelled out, with tiny booties in your color beside it. Keep the whole palette neutral and turn to face the window.
Balloon arch + mini box. A neutral arch overhead and a small box at your feet — open it and smile. Move in tight for a flattering waist-up shot.
Cake slice close-up. Slice a petite cake and hold the piece out toward the camera while you both lean in behind it.
Baby shoes + ribbon. Tie ribbon in your reveal color onto neutral baby shoes and shoot a hands-in-frame photo for a timeless feel.
Sonogram + bow. Tape the ultrasound to a neutral backing board, add a tiny bow in your color, and hold it up at chest height.
Mug reveal. “Mama” and “Papa” mugs filled with colored marshmallows — lift them to show what’s inside and capture the laugh.
Storybook page. Open a book to a pastel page and write “It’s a ___” on a sticky note; angle the page toward the lens.
Balloon bouquet (3). Two neutral balloons with one colored balloon hidden between them — turn slowly to bring the color into view.
Confetti plate (no toss). Hide confetti on a plate under a cloche; lift the cover and snap the detail — no throwing involved.
Window silhouette. Hold a onesie in your color up against a bright window for a soft, dreamy backlit shot.
Pro Tip: Shoot beside a window, switch the overhead lights off (they cast an orange tint), and face into the light.
Gender Reveal Photo Prompts (Quick Poses That Always Work)
A few small tweaks to where you stand and what you hold will make every photo cleaner.
Face the window and hold your reveal prop at chest height, where it’s easy to see.
Start with a hands-only shot — the envelope, the ribbon, the knife resting on the cake — then take the big smiling photo.
Shoot every beat three ways — wide, medium, and close-up — so you have choices later.
Right after the reveal, hold a happy hug for a slow ten seconds while your helper keeps filming; those frames are pure gold.
Finish with one flat-lay: your letterboard, shoes, ultrasound, and ribbon color arranged together.
Pro Tip: Keep overhead lights off to dodge orange shadows — window light alone is enough.
Siblings & Pets: Sweet, Simple, Supervised
Keep it brief, gentle, and well-guided so little helpers — furry ones included — can shine on camera.
Big brother/sister tee under a zip hoodie. Unzip on “three” to show the shirt underneath.
Prediction scoreboard. Tally everyone’s “team boy / team girl” votes before the reveal and snap a photo of the finished board.
Ball toss reveal. Your older child tosses a neutral balloon into the air just as you raise the colored one.
Pup bandana. Have your dog sit for a treat, wearing a bandana that reads “It’s a ___.”
Cookie reveal. Hand your older child a cookie with a colored center — bite, smile, done.
Pro Tip: Walk your helper through one practice run so they know exactly where to stand and what happens when.
Keepsakes You’ll Actually Keep
Choose one small memento you’ll still be happy to see on a shelf long after the party ends.
Guest prediction cards filled with guesses — date, weight, name ideas — that are genuinely fun to reread later.
Signed storybook: a neutral classic that guests sign, doubling as your guest book.
Polaroid wall: four to six instant prints clipped to a mini clipboard for the nursery.
Envelope + letter: the sealed scan-day envelope and a note about how you felt, tucked into a small shadow box.
Cake topper in a frame: pop it into a 5×7 frame alongside your reveal photo.
Pro Tip: Take one horizontal and one vertical photo of every moment — you’ll thank yourself when it’s time for prints and Reels.
Simple Day-Of Timeline
Short, clear steps so you can relax, enjoy it, and still get the shots you want.
T-2 hours: tidy one room, set out the reveal prop, and clear the space by the window.
T-30 minutes: lay out the outfits, wipe the phone lens, and do a fast lighting check.
T-10 minutes: hand out the jobs — video, photos, cue. Deep breath, sip of water.
Reveal: do the real thing once, then immediately film a tiny second take of just smiles as a backup.
After: five minutes of portraits, then dessert. You did it!
Shot List (Screenshottable)
Get these shots in the bag and you’ve told the whole story — no captions needed.
- Hands holding the sealed envelope
- Wide shot of the setup (window behind camera)
- The reveal moment (burst/slice/pull)
- Close-up of the color
- Hugs/laughter afterward
- One posed portrait; one silly
- Details: shoes, letterboard, dessert, ultrasound
Safety & Clean-Up Notes (Tiny but Important)
A handful of sensible choices here will protect your home, your guests, and your peace of mind.
- Confetti and powder belong outdoors only.
- Stick to the manufacturer’s directions, and keep everything away from open flames and wildfire-risk areas.
- Think about neighbors, pets, and noise levels.
- Choose biodegradable confetti and keep a small trash bag within reach.
Gender Reveal Candle
What to Buy (Budget-Friendly, Neutral-First)
Just the essentials you’ll genuinely use today — and pull out again for milestone photos later.
- Neutral balloon garland kit (works for any theme later)
- Small letterboard + set of numbers
- Mini cake or 6 cupcakes (bakery or grocery)
- Prediction cards + fine-tip pen
- Acrylic cake stand or simple wood board
- Optional: one confetti popper for an outdoor porch moment
Pro Tip: If a friend is in charge of the secret, ask them to text “mission complete” once the color is safely hidden — then nobody has to send anxious follow-ups.
Tiny Troubleshooting (Because Real Life)
When real life intervenes, these quick pivots keep the experience sweet and the stress low.
Nap crash: photograph a letterboard flat-lay and a quick selfie of the two of you; save the big moment for later.
Shy sibling: let them hold a stuffed animal wearing the bow color — zero pressure.
Bad light: shift closer to a window or open a door, and switch the overheads off.
Confetti in hair: a lint roller and a laugh — sorted.
FAQs
Fast answers to the questions nearly every couple ends up asking.
When’s the best time to do it?
Most families reveal somewhere around 18–22 weeks, but the timing is entirely up to you and your scan schedule.
Can we keep it really small?
Absolutely — the two of you, a tripod, and a single cupcake is a perfectly real reveal.
What if we’d rather not find out on the spot?
Ask your baker to color the cake, take a private photo of the slice, and announce it later with a letterboard picture.
Is it okay to use confetti indoors?
We’d keep it outdoors — tissue confetti is far easier and safer to clean up outside.
How long does the reveal need to take?
The moment itself can take less than a minute. Set aside about 10 minutes afterward for portraits while everyone is still glowing.
Can we pull this off after dark?
Yes — stand in a bright doorway or near a strong lamp bounced off a wall, and stay close to the camera. Skip the confetti at night.
What if the color gets out early?
Don’t panic. Fall back on the backup plan — letterboard plus shoes with the ribbon color — and do the cake slice or balloon box later, just for photos.
A Calm, Happy Reveal (That Feels Like You)
Keep things simple, soak it in, and let the pictures do the storytelling.
No production required — just decent light, one good idea, and the people who love you most.
Pick your one reveal, keep a backup up your sleeve, and grab the five essential shots.
Whether the color shows up in a cupcake bite, a little banner pull, or a single balloon rising out of a box, the part you’ll remember most is the look on each other’s faces.