Searching for baby Valentine crafts that are adorable, quick, and genuinely doable with tiny hands — and even tinier attention spans?
This guide is full of handprint and footprint keepsakes, “My First Valentine” gifts, baby-friendly card ideas, and simple toddler projects, all made with washable, non-toxic supplies.
Every idea is built for short setups and five-minute wins, so you end up with a keepsake you will treasure — without the stress.
How to Use This Post
Glance through the sections that match your baby’s age, choose one easy idea, and have it ready in five minutes or less.
Each craft lists the age range, the supplies, the steps, and a bonus tip, so there is no guesswork while a baby is on your hip.
Handprint & Footprint Keepsakes (Heart-melt guaranteed)
These sweet prints turn little hands and feet into Valentine art worth framing.
1) Handprint Heart Bouquet
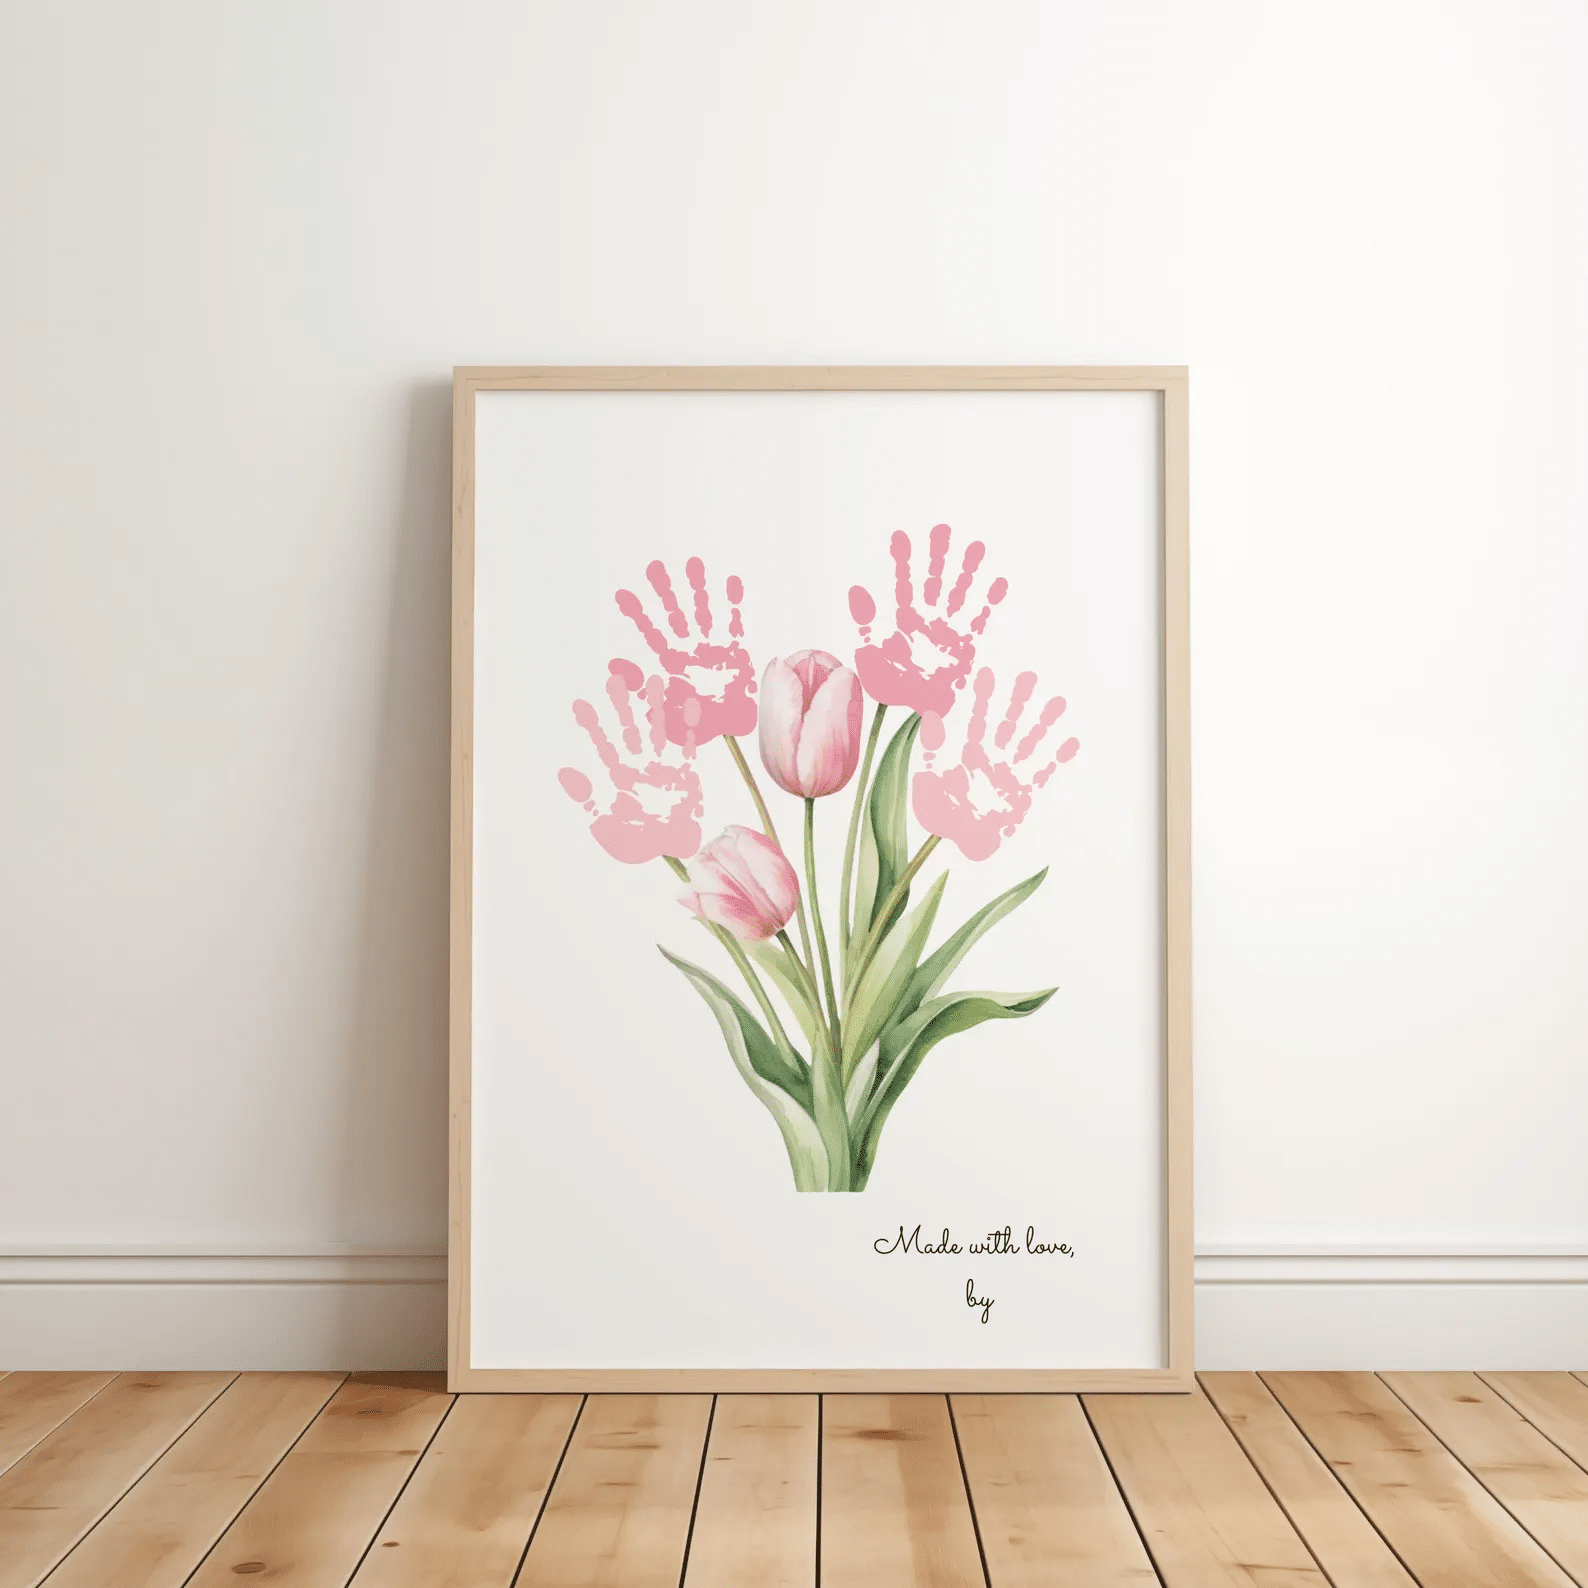
Age: 6–24 months
Supplies:
- Pink or red paint
- Cardstock
- Green marker
Steps:
- Stamp 3–5 handprints to form the “flowers.”
- Draw in stems and a bow with the green marker.
Bonus tip: Write “Love grows here” along the bottom, plus your baby’s name and the year.
2) Footprint Heart (Two Feet = One Heart)
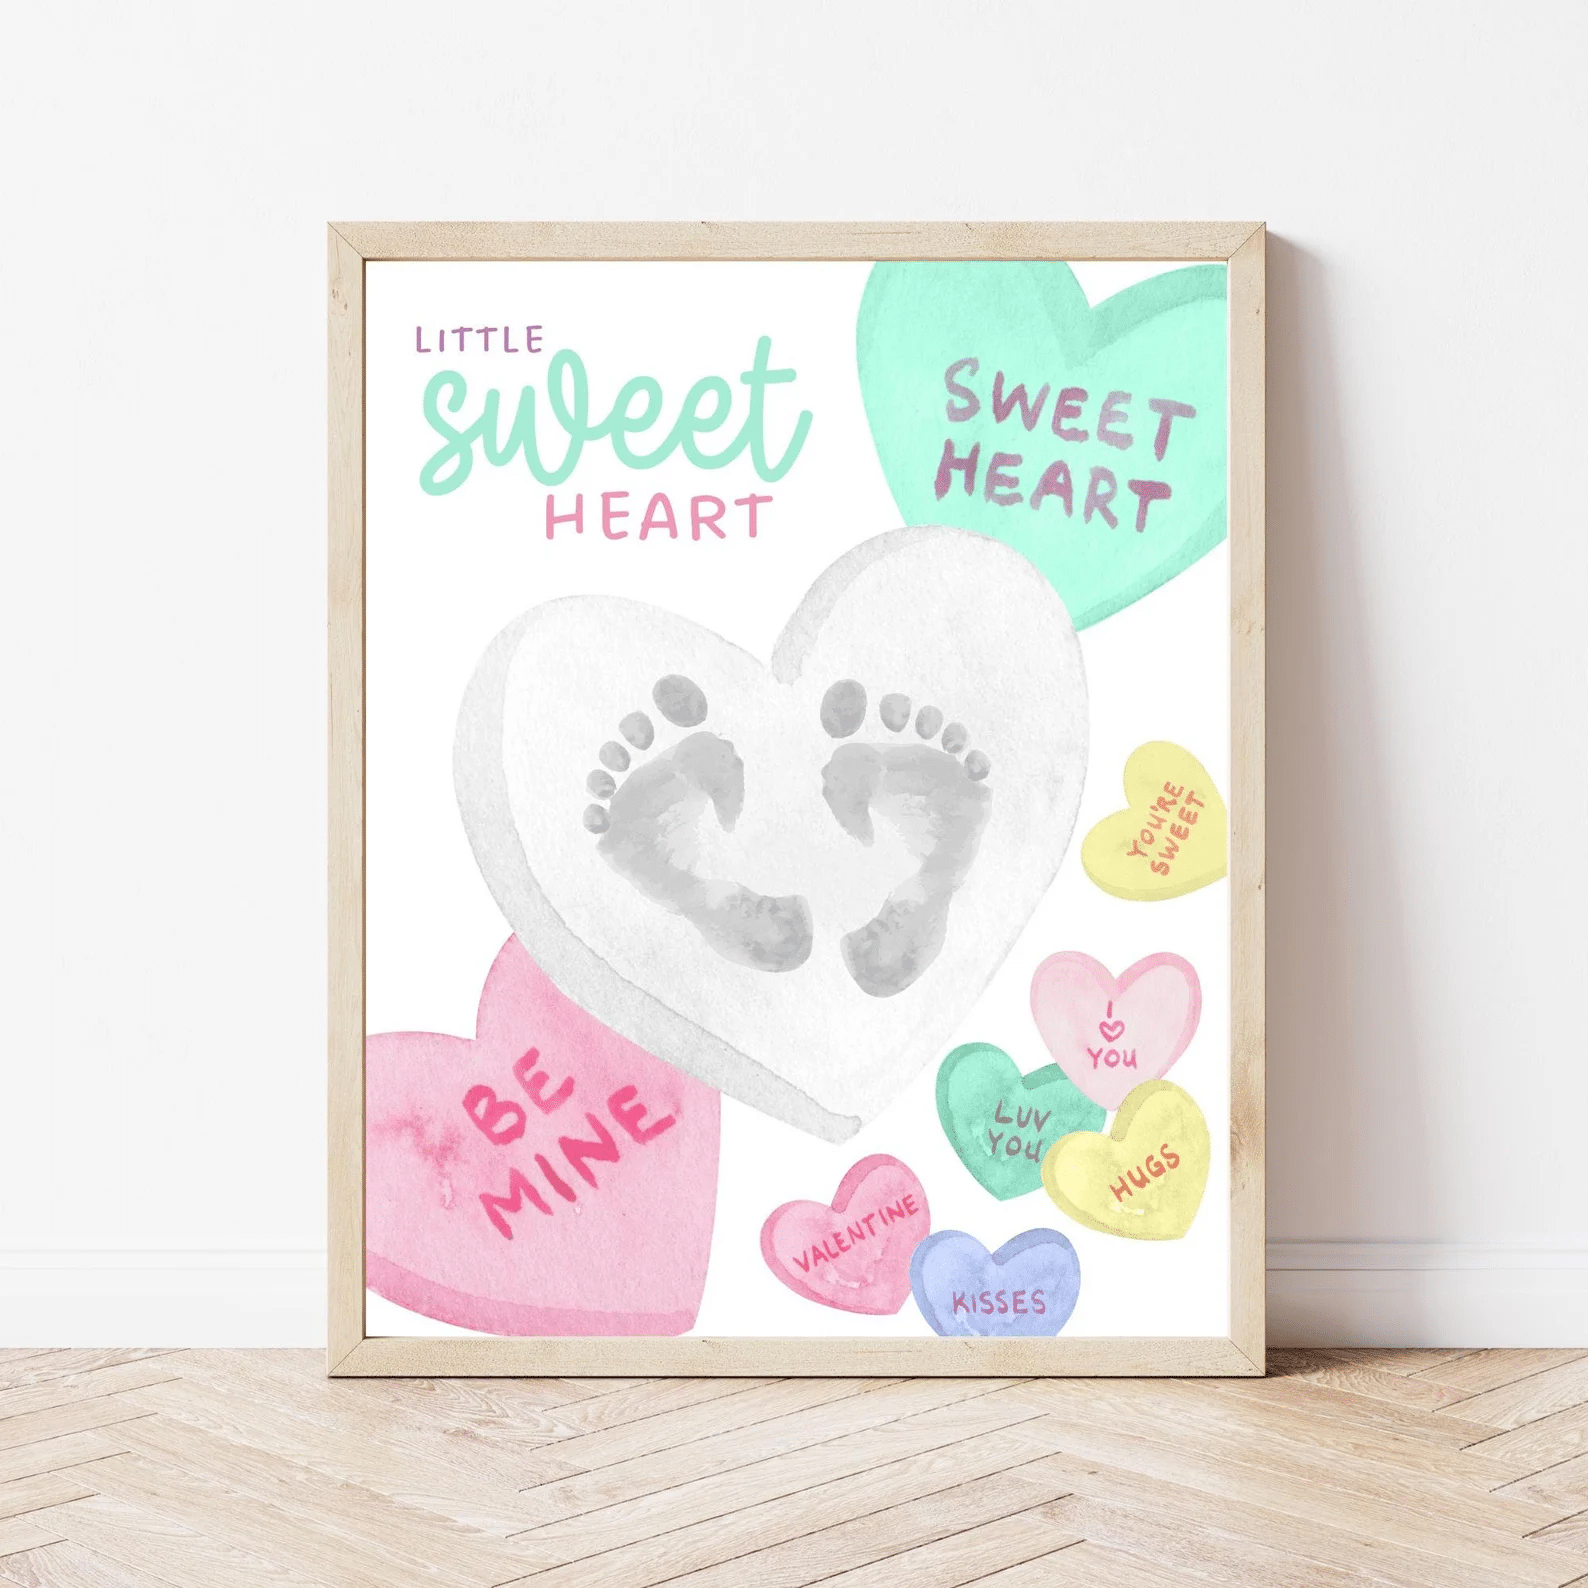
Age: 0–18 months
Supplies:
- Washable paint
- Cardstock
Steps:
- Stamp one footprint angled to the left.
- Stamp the second angled to the right so the heels meet and form a heart.
Bonus tip: Add the words “Two little feet, one big love.”
3) “XOXO” Handprint Art
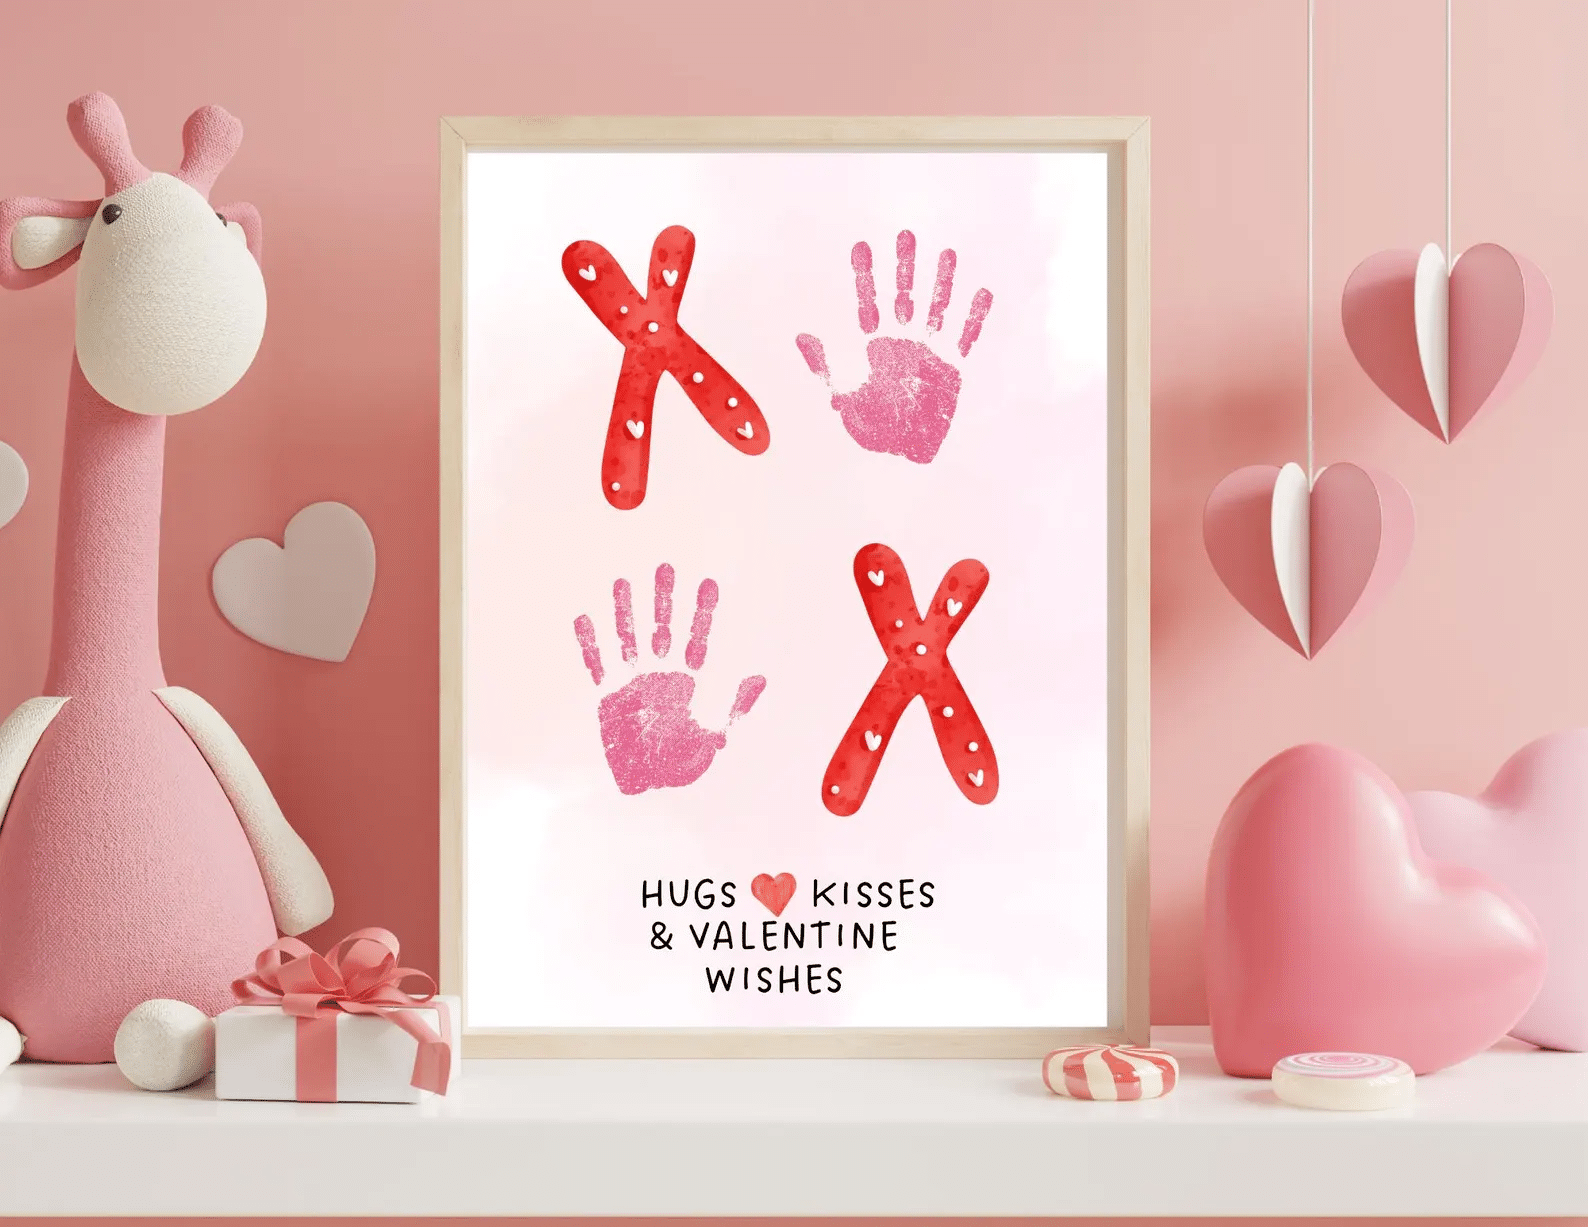
Age: 6–24 months
Supplies:
- Paint
- Marker
Steps:
- Stamp a handprint to stand in for the “X.”
- Draw an “O” beside it.
- Repeat the pair across the whole page.
Bonus tip: Cut the page into mini prints to give to grandparents.
4) Cupid Arrow Footprint
Age: 0–18 months
Supplies:
- Paint
- Marker
Steps:
- Stamp a footprint onto the page.
- Draw an arrow passing through a small heart near the toes.
Bonus tip: Add a tiny name label, like a little “signature.”
5) Thumbprint Heart Cluster
Age: 9–24 months
Supplies:
- Non-toxic ink pad or paint
- Cardstock
Steps:
- Press two thumbprints that meet at the top to form a heart.
- Keep going until you have a whole cluster of hearts.
Bonus tip: Once dry, outline each heart with a fine marker.
6) “Be Mine” Envelope Print
Age: 6–24 months
Supplies:
- Paint
- Cardstock
- Marker
Steps:
- Draw a simple envelope shape on the cardstock.
- Stamp a handprint inside it.
- Write “Be Mine” on the envelope.
Bonus tip: Fold the cardstock and it doubles as a Valentine card.
7) Love Bug Footprint
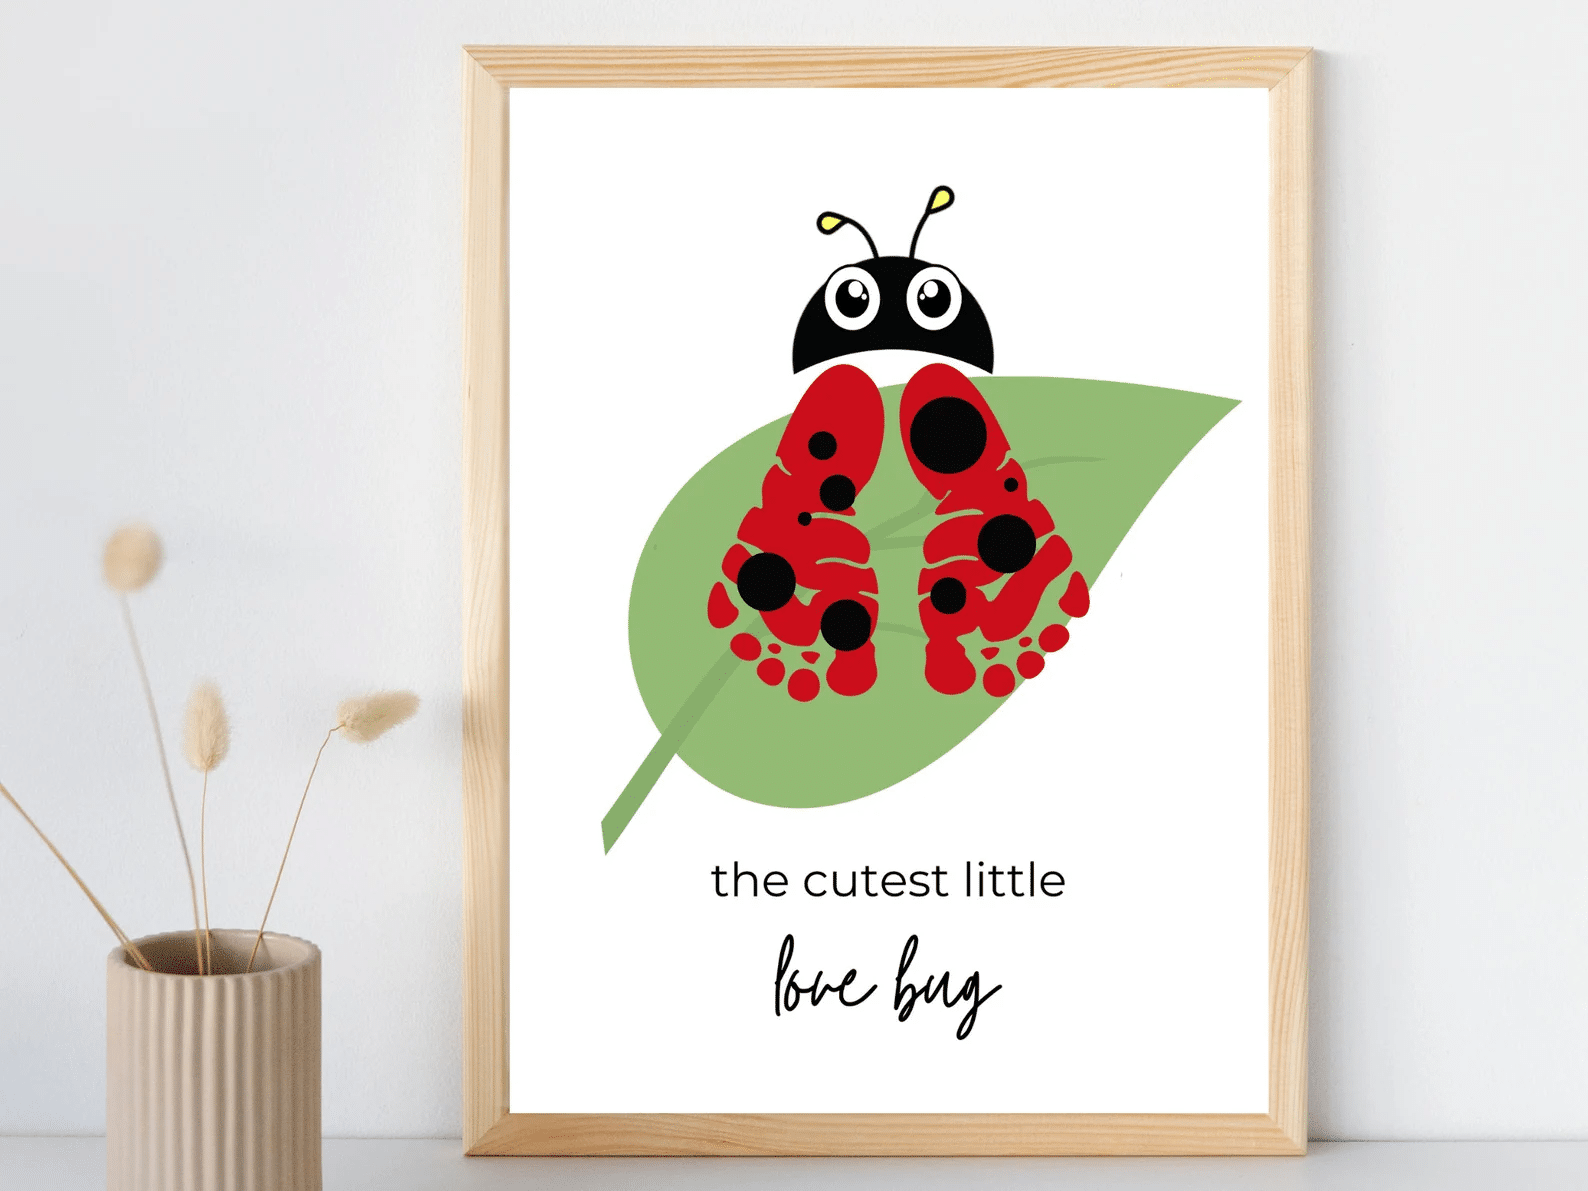
Age: 0–18 months
Supplies:
- Paint
- Googly eyes (optional)
- Marker
Steps:
- Stamp a footprint to form the bug’s body.
- Draw on antennae and spots.
Bonus tip: For infants, draw the eyes on instead of using small parts.
8) Heart-Shaped Handprint Wreath
Age: 9–24 months
Supplies:
- Red or pink paint
- Paper heart outline
Steps:
- Stamp small handprints all the way around a big heart outline to form a wreath.
Bonus tip: Place a favorite photo in the center.
DIY “My First Valentine” Keepsakes (Giftable & frame-worthy)
Sweet enough to give as gifts, and sturdy enough to keep for years.
9) Salt Dough Heart Keepsake
Age: 0–24 months
Supplies:
- Salt dough
- Straw
- Ribbon
Steps:
- Roll out the dough.
- Press in a handprint or thumbprint.
- Cut out a heart shape.
- Poke a hole with the straw.
- Bake low and slow, then let it cool completely.
Bonus tip: Write your baby’s name and the year on it with a paint pen.
10) Air-Dry Clay Handprint Heart Plaque
Age: 0–24 months
Supplies:
- Air-dry clay
- Ribbon (optional)
Steps:
- Flatten the clay.
- Press your baby’s hand into it.
- Shape the edges into a heart.
- Leave it to dry.
Bonus tip: Skip the paint and keep it natural for a clean, modern look.
11) “My First Valentine” Photo Magnet
Age: Any age (grown-up assembly)
Supplies:
- Baby photo
- Cardstock
- Adhesive magnet sheet
Steps:
- Cut the photo into a heart shape.
- Mount it onto cardstock.
- Add the magnet backing.
Bonus tip: Make a set of three for the fridge.
12) Jar-Lid Heart Photo Ornament
Age: Any age (grown-up assembly)
Supplies:
- Clean jar lid
- Heart-shaped photo
- Ribbon
- Glue
Steps:
- Glue the photo inside the lid.
- Attach a ribbon hanger.
Bonus tip: Run washi tape around the rim for an instantly polished finish.
13) “Love You More” Mini Canvas
Age: 9–24 months
Supplies:
- Small canvas
- Paint
- Marker
Steps:
- Paint a simple background.
- Add baby thumbprint hearts.
- Write “Love you more” across it.
Bonus tip: Stick to 2–3 colors for a calm, modern feel.
14) Handprint Heart Garland
Age: 9–24 months
Supplies:
- Cardstock
- Paint
- String
Steps:
- Stamp handprints onto the cardstock.
- Cut them into heart shapes.
- Thread them onto string to make a garland.
Bonus tip: Hang it up again later as a photo backdrop.
15) Heart Handprint Bookmark (Grandparent Gift)
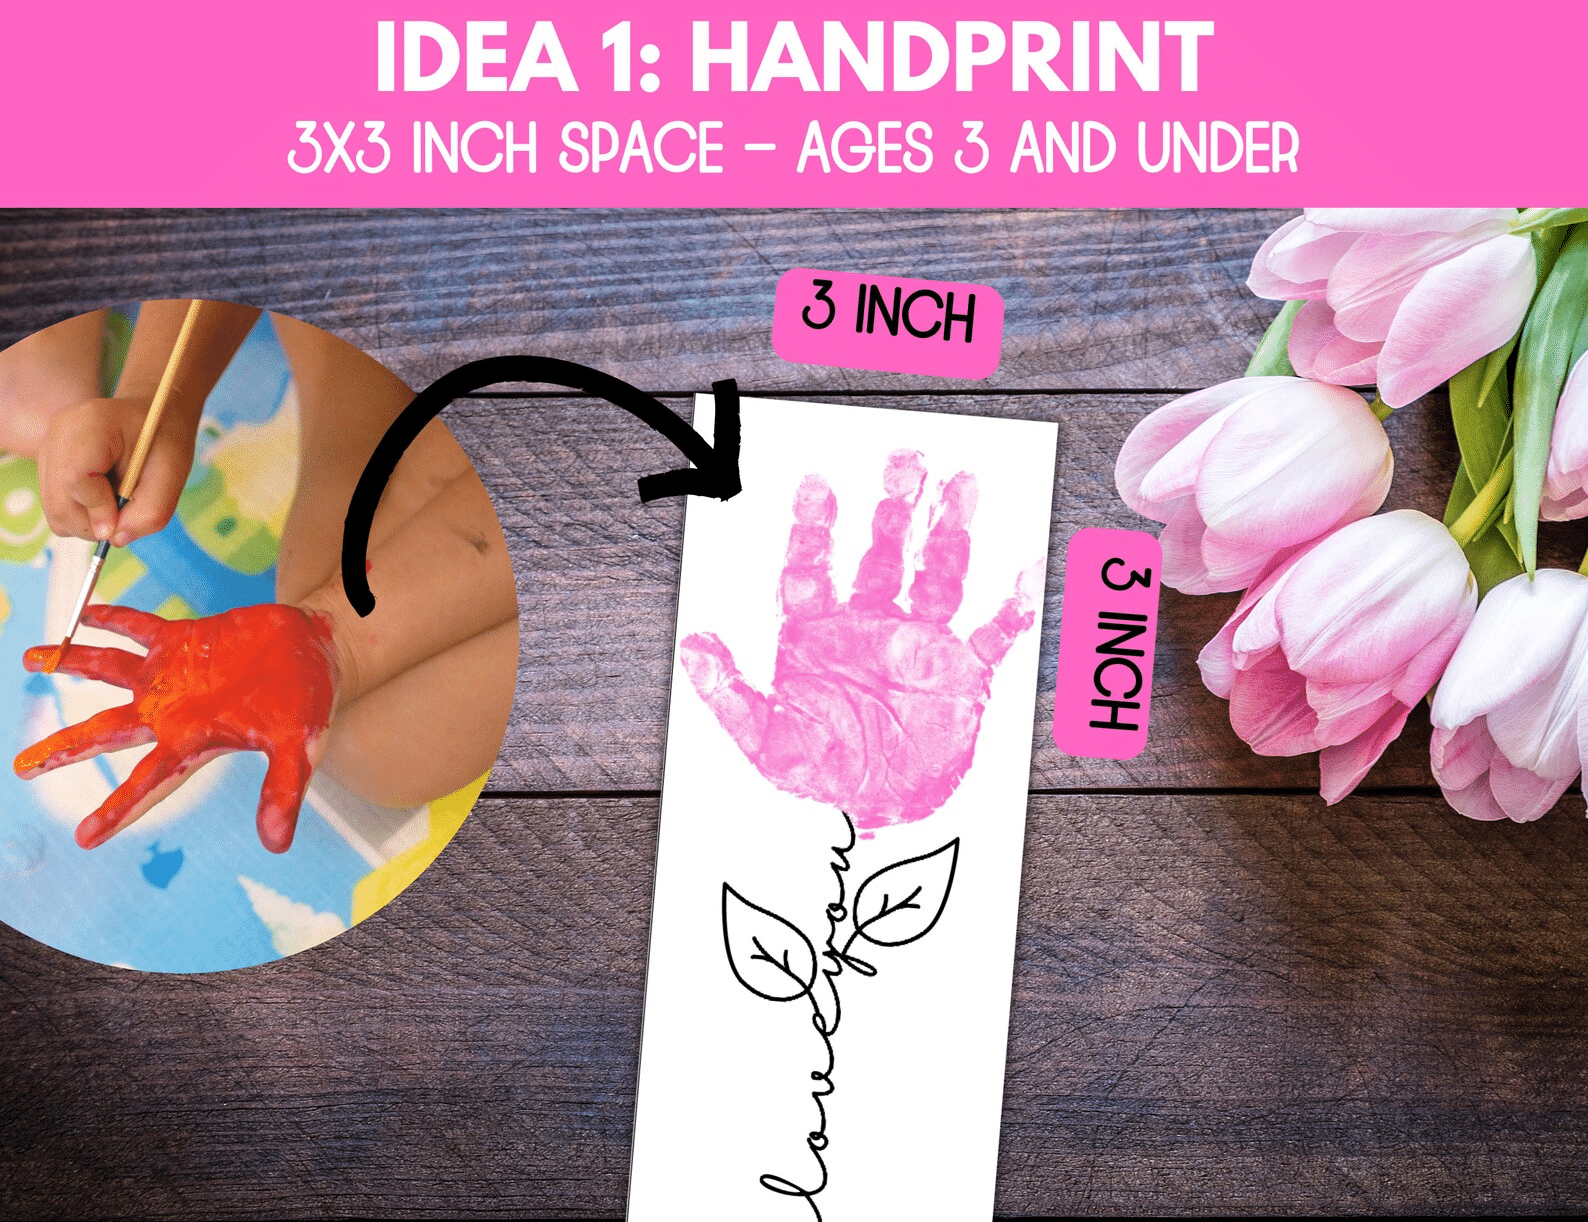
Age: 6–24 months
Supplies:
- Cardstock strips
- Paint
- Clear packing tape or lamination
Steps:
- Stamp a small handprint heart at the top of a strip.
- Write your baby’s name and the year.
- Seal it with tape or laminate.
Bonus tip: Punch a hole at the top and add a ribbon tassel.
Sensory-Friendly Valentine Art for Babies
Low-mess projects that put safe, hands-on exploring first.
16) Taste-Safe “Pink Paint” (Yogurt + Food Coloring)
Age: 6–12 months
Supplies:
- Plain yogurt
- Food coloring
- Tray
- Paper
Steps:
- Tint the yogurt with food coloring.
- Let your baby smear it around on the tray.
- Press paper over the top to lift a print.
Bonus tip: Tape the paper down so it does not slide around.
17) Heart Sensory Bag (Zero-Mess)
Age: 6–18 months
Supplies:
- Zip-top bag
- Hair gel
- Large confetti or hearts
- Tape
Steps:
- Fill the bag with gel and the hearts.
- Seal it shut.
- Tape the edges to the high-chair tray and let your baby squish away.
Bonus tip: Draw a heart outline on the outside of the bag for “tracing.”
18) Valentine Discovery Bottle
Age: 6–18 months
Supplies:
- Clear plastic bottle
- Big pom-poms
- Ribbon scraps
Steps:
- Fill the bottle with the pom-poms and ribbon.
- Hot-glue the lid on (grown-up job).
- Shake and roll.
Bonus tip: Choose pieces big enough that they cannot fit back out through the bottle opening.
19) Heart Stamp Painting (Sponge Hearts)
Age: 9–24 months
Supplies:
- Sponge
- Heart cookie cutter
- Paint
Steps:
- Cut the sponge into heart shapes, or press it into a heart cutter to shape it.
- Stamp hearts all over the page.
Bonus tip: One main color plus a single accent color looks the most frame-worthy.
20) Crayon Melt Heart Art (Grown-Up Only Heat Step)
Age: 18–24 months (baby observes; adult finishes)
Supplies:
- Crayons
- Heart outline
- Hair dryer
Steps:
- Let your baby help place the crayon pieces inside the heart outline.
- An adult melts them with warm air from the hair dryer.
Bonus tip: Work outside or on a protected surface.
21) “Sticky Heart” Texture Collage
Age: 9–24 months
Supplies:
- Contact paper
- Tissue squares
- Soft fabric scraps
Steps:
- Tape the contact paper sticky-side up.
- Let your baby press the textures onto it.
- Seal the finished collage.
Bonus tip: Ideal for babies who grab everything except the paintbrush.
Paper, Stickers & No-Paint Wins (High-chair approved)
Fast projects you can finish before the snack is gone — no paint required.
22) Dot-Sticker Heart Balloons
Age: 9–24 months
Supplies:
- Cardstock
- Dot stickers
- Marker
Steps:
- Draw balloon strings on the cardstock.
- Let your baby place dot stickers at the tops as the balloons.
Bonus tip: Use heart-shaped stickers if you have them.
23) Doily Heart Cards
Age: 12–24 months
Supplies:
- Paper doilies
- Cardstock
- Glue stick
Steps:
- Fold a doily into a heart shape.
- Glue it onto a card.
- Write a short message inside.
Bonus tip: Tuck your baby’s photo inside for an instant “aww.”
24) Washi Tape Hearts
Age: 12–24 months
Supplies:
- Washi tape
- Cardstock
Steps:
- Lightly outline a heart on the cardstock.
- Let your toddler fill it in with strips of tape.
Bonus tip: Tape is forgiving — and surprisingly calming to work with.
25) Conversation-Heart Sticker Sheet Art
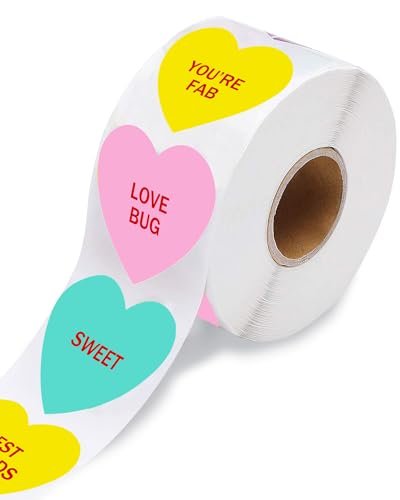
Age: 9–24 months
Supplies:
- Heart stickers
- Cardstock
Steps:
- Draw one big heart on the cardstock.
- Let your baby “fill” it in with stickers.
Bonus tip: Write classic phrases around the heart: “XO,” “Be Mine,” “Love.”
26) Paper Plate Heart Wreath
Age: 12–24 months
Supplies:
- Paper plate
- Pink and red paper scraps
- Glue stick
Steps:
- Cut the center out of the plate.
- Glue paper scraps all around the ring.
Bonus tip: Finish it off with a ribbon bow at the bottom.
27) “Mail a Valentine” Toddler Craft
Age: 18–24 months
Supplies:
- Stickers
- Crayons
- Cardstock
Steps:
- Decorate a card with stickers and crayons.
- Slip it into an envelope.
- “Mail” it to someone you love.
Bonus tip: Let your toddler add the stamp sticker themselves — a huge pride moment.
Nature & Recycled (Low-cost, high-cute)
28) Cardboard Tube Heart Stamps
Age: 12–24 months
Supplies:
- Toilet paper roll
- Paint
Steps:
- Pinch the tube into a heart shape.
- Dip it in paint and stamp.
Bonus tip: Tape the tube so it holds its heart shape.
29) Egg Carton Heart
Age: 18–24 months
Supplies:
- Egg carton cups
- Paint or markers
- Glue
Steps:
- A grown-up cuts out the carton cups.
- Your toddler colors them.
- Glue the cups together into a heart shape.
Bonus tip: Use it as a topper on a grandparent’s gift.
30) Valentine “Mailbox”
Age: 18–24 months
Supplies:
- Mini mailbox
- Stickers
- Paper hearts
Steps:
- Decorate the mailbox with stickers.
- “Deliver” paper hearts through the slot.
Bonus tip: It doubles as a fine-motor game.
31) Magazine Heart Collage
Age: 18–24 months
Supplies:
- Old magazines
- Glue stick
- Paper heart
Steps:
- Tear (or cut) pink and red pieces from the magazines.
- Glue them onto a big paper heart.
Bonus tip: Tearing paper might be the most toddler-friendly skill of all.
Snack-Crafts (Edible-ish activities)
These lean more toward cute little activities than serious crafts — perfect for a Valentine playdate feel.
32) Heart Toast Art
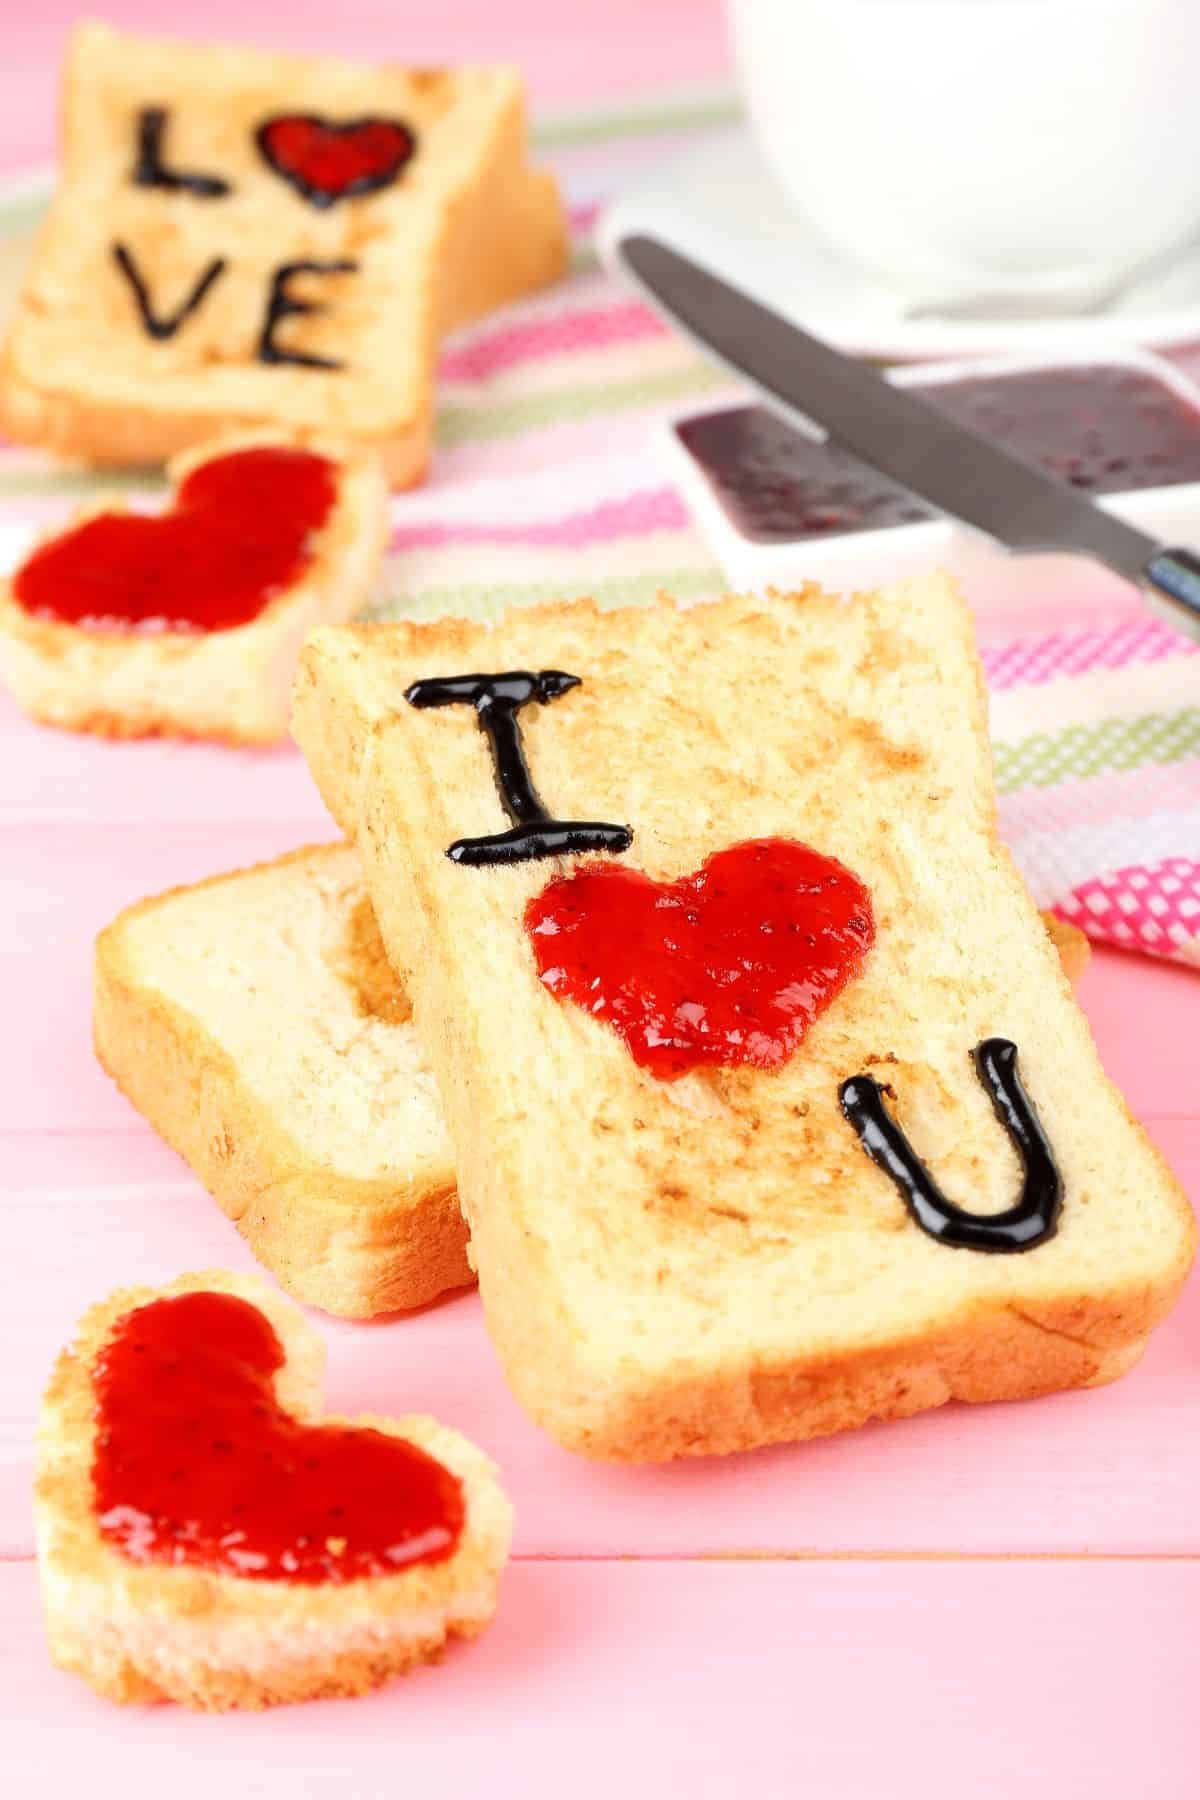
Age: 12–24 months
Supplies:
- Toast
- Heart cookie cutter
- Yogurt or nut/seed butter (as appropriate)
Steps:
- Cut the toast into a heart shape.
- Spread it with yogurt or butter.
- Add little fruit pieces on top.
Bonus tip: Snap the photo before they demolish it.
33) “Stamp” with Strawberries
Age: 18–24 months
Supplies:
- Strawberry halves
- Yogurt
- Paper
Steps:
- Dip strawberry halves into yogurt.
- Stamp them onto the paper.
Bonus tip: Work on a tray — this one gets joyful fast.
34) Cereal Heart Sorting Tray
Age: 12–24 months
Supplies:
- Big cereal
- Muffin tin
- Heart cut-outs
Steps:
- Sort the cereal into the tin’s sections, using the hearts and colors as guides.
Bonus tip: It keeps little hands busy while you drink your coffee hot.
35) Valentine “Trail Mix” for Toddlers
Age: 18–24 months
Supplies:
- Puffs
- Yogurt melts
- Dried fruit (age-appropriate)
Steps:
- Mix everything together in a bowl.
- Scoop and snack.
Bonus tip: Skip nuts and hard pieces for little ones.
Photo-Op Props (Craft it, then snap it)
36) “My First Valentine” Sign (Easy Printable-Style DIY)
Age: Any age (grown-up writes)
Supplies:
- Cardstock
- Marker
- Ribbon
Steps:
- Write the phrase on the cardstock.
- Add your baby’s name and the date.
- Punch holes and tie on the ribbon.
Bonus tip: Prop it next to your baby for a simple milestone photo.
37) Heart “Wings” Backdrop
Age: Any age (grown-up assembly)
Supplies:
- Paper hearts
- Tape
Steps:
- Tape two large hearts behind your baby, like wings.
- Take the photos on a blanket.
Bonus tip: Set up near a window to get the best light.
38) Felt Heart Garland Backdrop
Age: Any age (grown-up assembly)
Supplies:
- Felt hearts
- String
Steps:
- String the hearts into a garland.
- Hang it on the wall for photos.
Bonus tip: Keep it neutral — blush and cream felt — for a modern look.
10-Minute “I Can Do This Today” Ideas
- 39) One Single Perfect Handprint Heart (frame it, call it done)
- 40) Heart Sticker Onesie (stickers + quick photo = memory made)
- 41) Thumbprint “XO” Card (two thumbprints = heart, write XO)
- 42) Tissue Paper Window Heart (contact paper + tissue, hang in the window)
- 43) Sponge Heart Stamps on Gift Wrap (DIY Valentine wrapping paper)
Set-Up & Clean-Up hacks
Contain the mess: Work inside a shallow plastic bin used as a craft tray.
Tape everything down: The paper, the sensory bags, even the paint palette.
Dress for success: A plain light onesie means cute photos and easier stain treatment afterward.
Drying zone: Cooling racks over parchment keep finished projects off the table.
Memory hack: Write your baby’s name, date, and age on the back of everything.
FAQs (Quick answers you actually need)
What paints are safest for babies?
Choose washable, non-toxic paints with AP certification. For babies under 1, stick to taste-safe options like tinted yogurt, and avoid small parts and anything strongly scented — especially essential oils.
Can my baby really “help” with crafts?
Yes. At this age, helping means stamping, sticking, smearing, and exploring textures, while you handle the cutting, the hot glue, and anything tiny.
What are the easiest Valentine crafts for infants?
Go with no-mess wins: sensory bags, contact-paper collages, and simple hand or footprint keepsakes when you have an extra set of hands to help.
How do I make baby Valentine cards fast?
Pick just one — a handprint heart, thumbprint hearts, or a photo paired with a doily heart — add a short message, and you are done.